GTAXTREME
Find your way around Port Gellhorn with five maps: Starlet Motel, Watkins Auto Parts, Dunk, Brooks Boatworks and Delights Cabaret. Includes unlocks and departure checks.
Your next objective points into Port Gellhorn, but the town becomes much more useful once you know where to return between missions. Start with your motel, find Moses’s workshop and learn which buyer accepts the loot in your trunk. This guide connects those everyday stops with the waterfront and a club detour.
Port Gellhorn is the urban base for Chapter 2 in Kelly County. The Chapter 2 walkthrough explains the story sequence; here you can choose a destination by what you need right now. Services unlock through missions, so a building on the map does not automatically mean its full menu is already available.
Use the Port Gellhorn map directory for additional local markers and the shops and food guide for shopping stops. The interactive map below starts with all of Leonida in view. Zoom toward the highlighted town; each section also has its own closer map. Area markers identify a property or search area rather than an exact doorway.
1. Starlet Motel: make this your first orientation stop
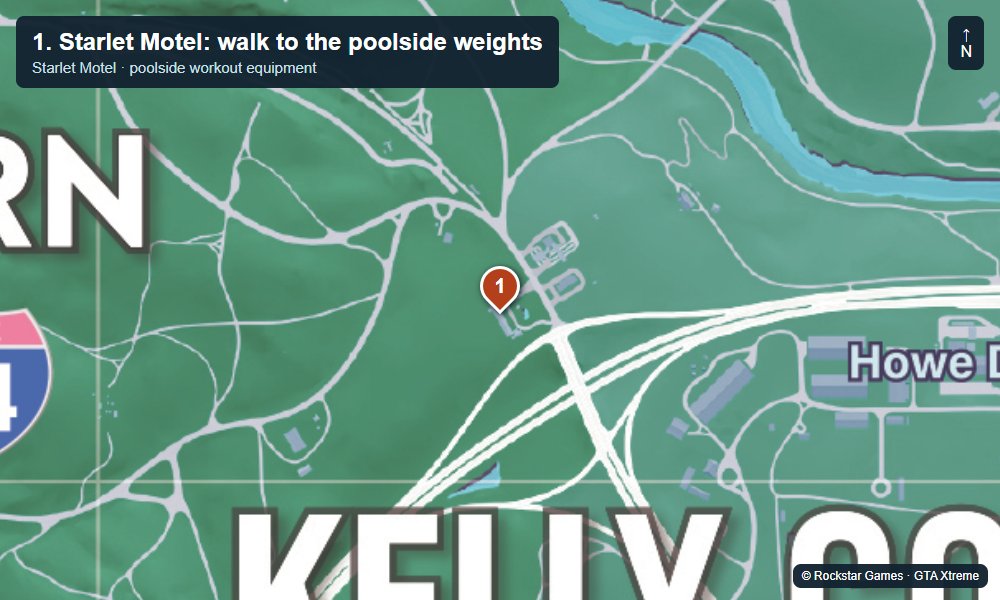
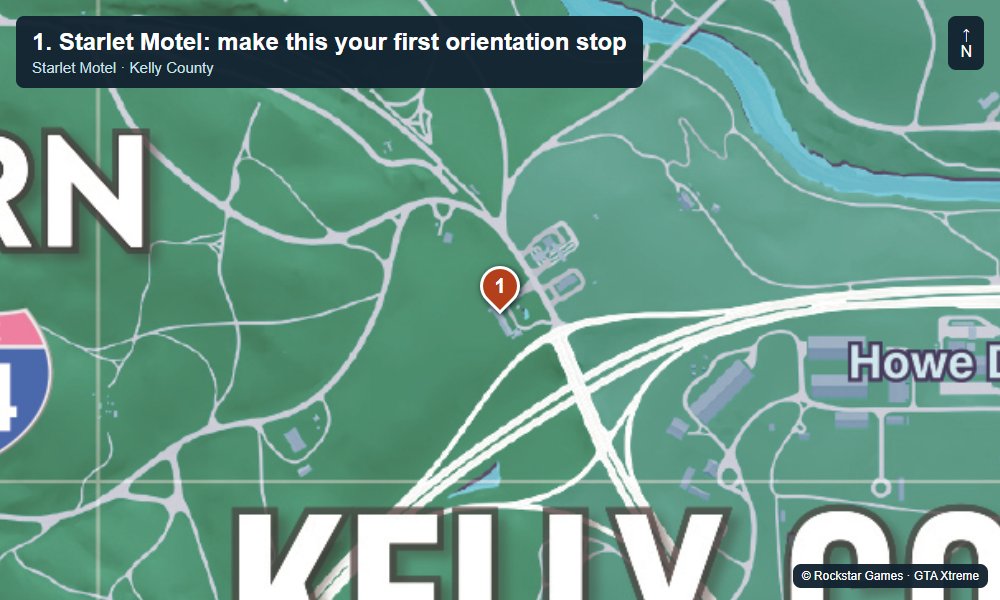
Follow the Starlet Motel marker east of the town centre. Once inside the grounds, go to reception and the office before setting off again. The office map helps you identify nearby activities, making the motel a useful starting point for planning a town circuit.
While it remains your base, check the accessible rooms and the washroom. The collectible-card guide tracks the wider collection; remember to inspect the kitchen during Coffee Break as well. Treat an available interior as a chance to search now rather than a promise that it will remain open after the story moves on.
Linda’s rent is $900 in cash. Check your wallet before speaking to her and use the nearby ATM if necessary. Money sitting elsewhere is not the same as cash ready for that interaction. The banking guide explains deposits, withdrawals and account balances.
NoobBlox opens the Port Gellhorn map and the Move to Vice City task near the start. The clip is a chapter-end checklist, not a room-by-room card walkthrough.
See the Chapter 2 move marker and map on YouTube
2. Watkins Auto Parts: decide whether to keep or sell a car
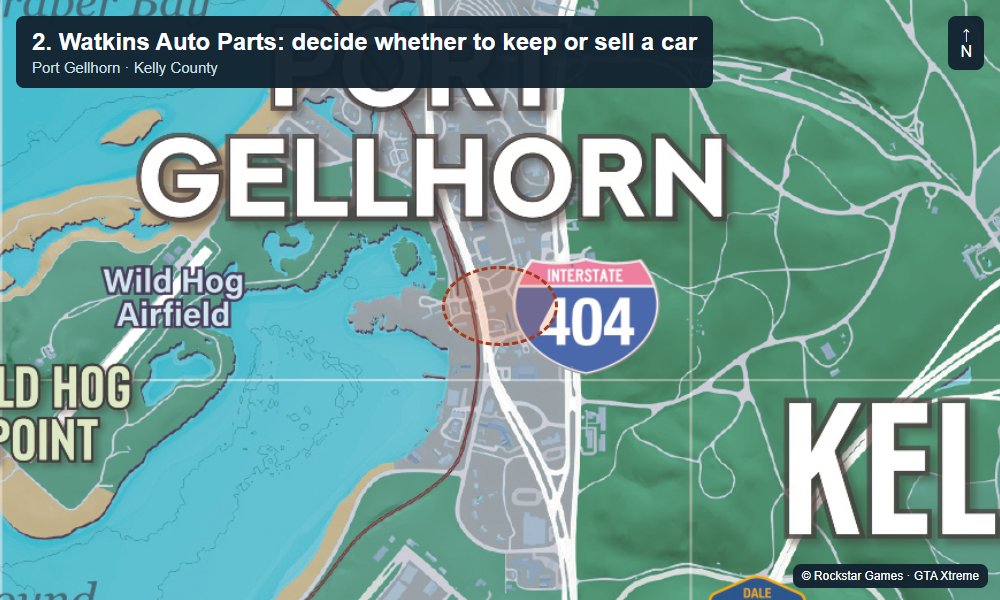
Head to Watkins Auto Parts in western Port Gellhorn and follow the workshop entrance. Vicki’s introduction brings Lucia to Moses during Chapter 2. Complete that introduction to learn the vehicle systems instead of arriving with an expensive car and assuming he can process everything.
Use WAiNK to inspect a car’s equipment and service eligibility. The introduction teaches the Slim Jim and registration. If this is a car you want to keep, read the vehicle registration guide, then decide how to use a registration opportunity. Selling the car gives you money but does not put it into your personal fleet.
For paid requests, check messages and Robberies → Moses Drop-Offs. The Moses location guide covers the requested vehicles and return trips. Choose the active job before driving into the countryside so you know which model you are actually looking for.
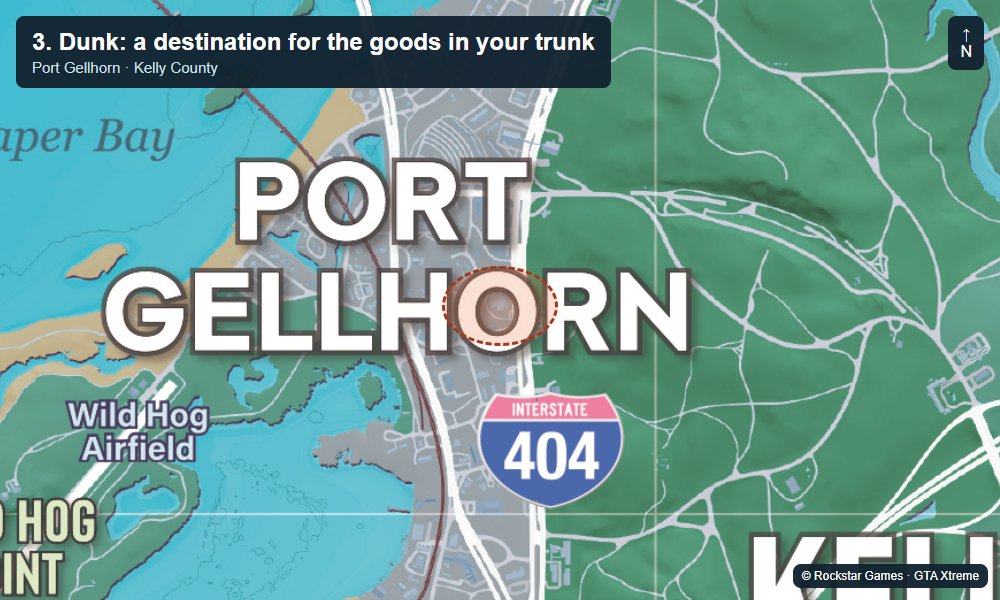
3. Dunk: a destination for the goods in your trunk
Locate the Dunk fence marker and approach the trailer property. His goods service becomes available after Slam Dunk. If the sale interaction is absent, check your mission progress before assuming that the marker or your cargo is broken.
Open the current sale or drop-off interaction and check the categories and offer. The stash-bag selling guide explains why the contents’ listed value and the money eventually received can differ. Read the payment instructions before leaving; handing over a bag and receiving spendable funds need not be the same moment.
This is a useful final stop after a local robbery. Plan the buyer before you fill your vehicle: a full trunk without an available buyer is a transport problem rather than a completed payday.
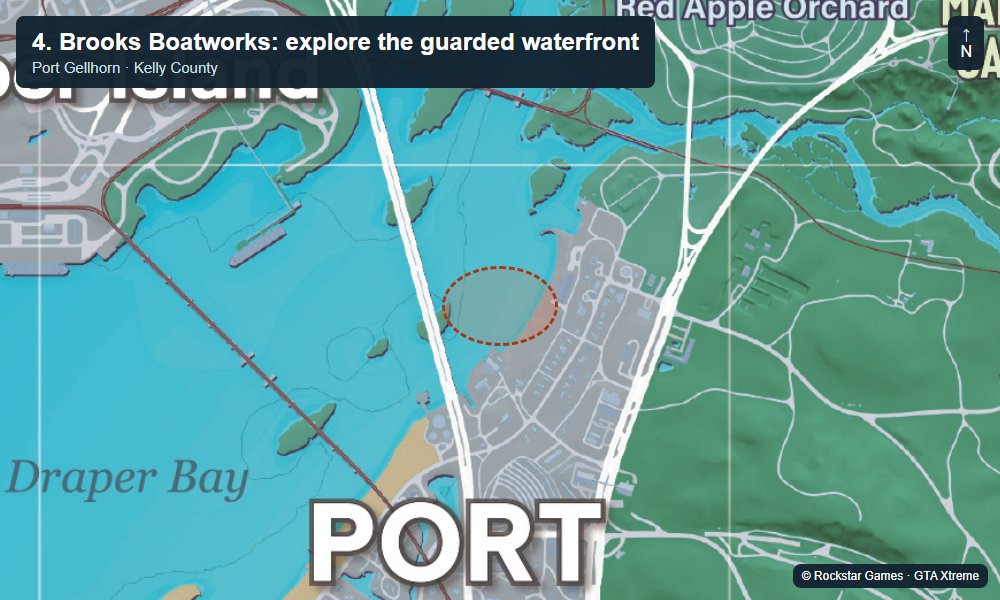
4. Brooks Boatworks: explore the guarded waterfront
Drive toward the northern waterfront for Brooks Boatworks. The compound belongs to the Kolt & Associates robbery locations, so prepare for armed resistance. On the eastern side, an outside staircase leads around to an office with a wall map. Inspect that clue when exploring the property.
The map connects the boatyard with La Cascara Motel and Kingpin Bowling. The Chapter 2 money route puts those three safes into a single trip. At Brooks itself, the safe is in an office to the left of the main building and uses 6823. Search the available valuables before leaving, with room in your vehicle for anything that needs carrying.
For more targets across the region, use the illegal-operations directory. Do not mistake a map icon for a cleared site: check the remaining valuables shown for the location after your visit.
This timestamped ConCon segment shows the approach and search for this safe. The complete video covers all three Port Gellhorn safes.
Watch ConCon’s route for this safe
5. Delights Cabaret: a detour between jobs
Select Activities → Clubs → Delights Cabaret and use the entrance beside its parking area. Inside, look for the pool activity and check which opponent or interaction is currently offered. This stop gives you something to do beyond moving between robbery sites and buyers.
If you want to finish the available Chapter 2 pool encounter, check it before moving to Vice City. The club’s later availability and the current opponent should not be assumed to stay identical. Use the Delights Cabaret guide for the wider venue overview and keep a separate save before your final chapter move.
SpaceQT’s opening scenes show Delights and the interior before discussing the chapter transition. Later scenes contain story spoilers.
Watch SpaceQT’s Chapter 2 missables discussion
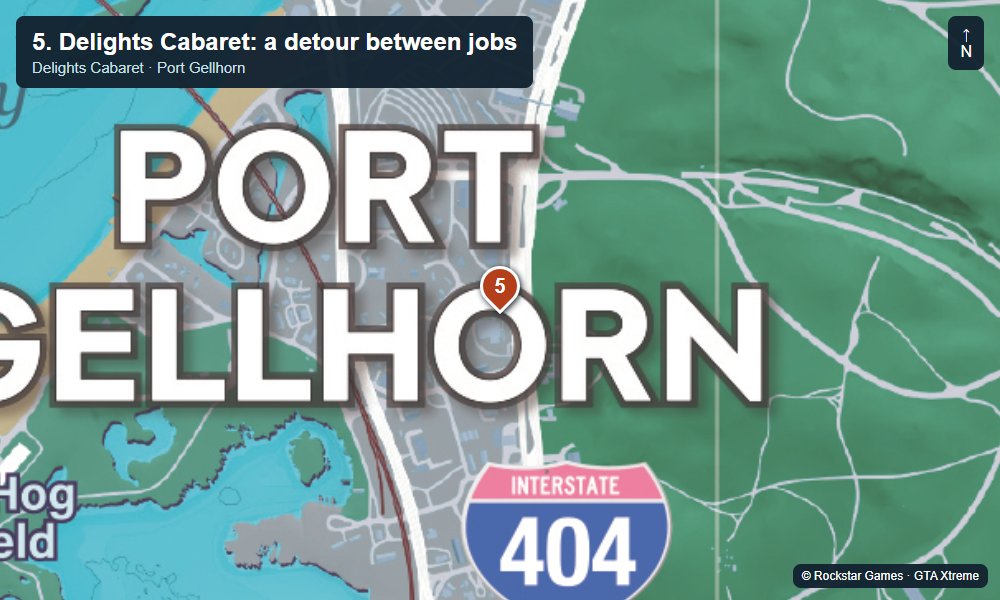
Map by Rockstar Games. Markers and screenshots by GTA Xtreme.
Before you leave Port Gellhorn
Ahead of Checking Out save separately and revisit the motel rooms and any local interaction you still want to finish. Check your actual story objective for the money requirement. Spendable cash, a pending goods payment and money tied up in another account should be checked separately.
A practical town circuit is motel, workshop, chosen activity and finally the appropriate buyer. Use the waypoint for each leg rather than drawing a straight line through buildings or water. These five stops are useful anchors for exploration, not a complete list of everything in Port Gellhorn.