GTAXTREME
Get to grips with cash and vehicle registration, check the Starlet Motel collectibles and prepare for the move to Vice City at the end of Chapter 2.
Jason and Lucia’s temporary home in Chapter 2 is the Starlet Motel, with Port Gellhorn and rural Kelly County opening up around them. This is the point to learn vehicle registration, keep cash available for rent and check the activities attached to your current base.
Before starting Checking Out make a separate manual save and finish your motel sweep. The move to Vice City changes your base; do not assume the motel interiors and their pickups will remain available afterward. Work toward the $15,000 story money goal alongside the remaining main missions.
The chapter overview provides the wider story sequence. This guide concentrates on the practical Chapter 2 systems and the checks to make before leaving, rather than treating every side job as something that must be finished immediately.
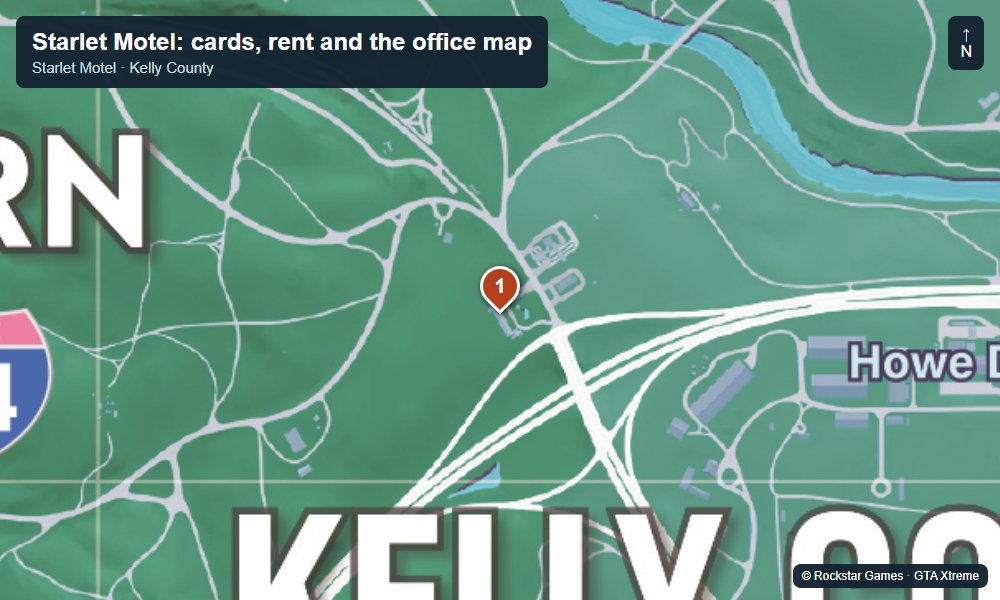
1. Starlet Motel: cards, rent and the office map
Use the Starlet Motel safehouse marker east of central Port Gellhorn. Enter the motel grounds and start at reception and the office rather than driving straight on to the next story marker. Inspect the office map to reveal local activities.
While the interiors are available, check the washroom area for one collectible card. Check the kitchen during Coffee Break for the other motel pickup. The collectible-card guide helps you track the wider collection; these two checks are about the motel rooms before the move.
Linda asks for $900 in cash for the rent. If needed, withdraw money at the ATM nearby before paying. Review available motel jobs such as Overnight Charges and Wyman’s tuning request while the motel is still your base. Make the separate save before accepting the final move.
NoobBlox opens the Port Gellhorn map and the Move to Vice City task near the start. The clip is a chapter-end checklist, not a room-by-room card walkthrough.
See the Chapter 2 move marker and map on YouTube
2. Moses: the first vehicle registration
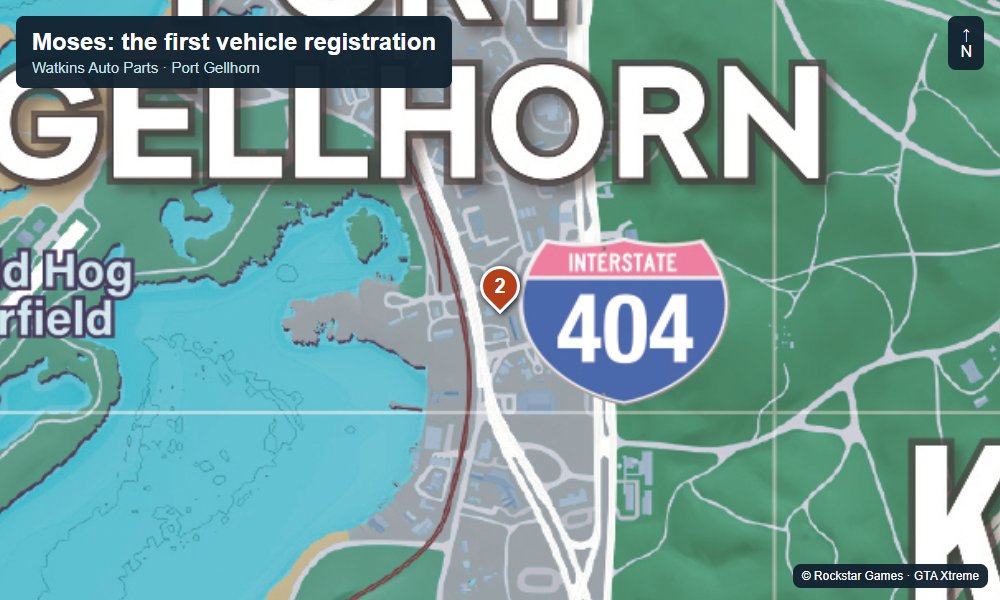
As Lucia, follow Vicki’s introduction to Watkins Auto Parts in Port Gellhorn. The Moses location guide shows the workshop approach and the later vehicle requests. Talk to him and complete the introductory steps rather than assuming the service is already unlocked when Chapter 2 begins.
Use WAiNK to inspect the actual car’s lock, alarm and tracker. Moses introduces the Slim Jim and the first registration opportunity, including the one-time free registration. Choose an eligible vehicle without a tracker and check the current service conditions before spending that opportunity.
Vehicle registration and car sales are separate decisions: register a car you want to keep, or sell it through the appropriate vehicle fence. A car’s price alone does not make it eligible. Standard trackers and later service unlocks need their own checks.
3. Delights Cabaret: check the pool game before leaving
Open Activities → Clubs and select Delights Cabaret in Port Gellhorn. Use the entrance beside the parking lot and look for the pool activity inside. Check the current opponent while you are still in Chapter 2.
The chapter-end guide flags this pool opportunity as time-sensitive around the move and the club’s later availability. Play it while it is offered instead of assuming the same opponent will be waiting immediately after the transition. Keep the manual save if you want to revisit the encounter.
SpaceQT’s opening scenes show Delights and the interior before discussing the chapter transition. Later scenes contain story spoilers.
Watch SpaceQT’s Chapter 2 missables discussion
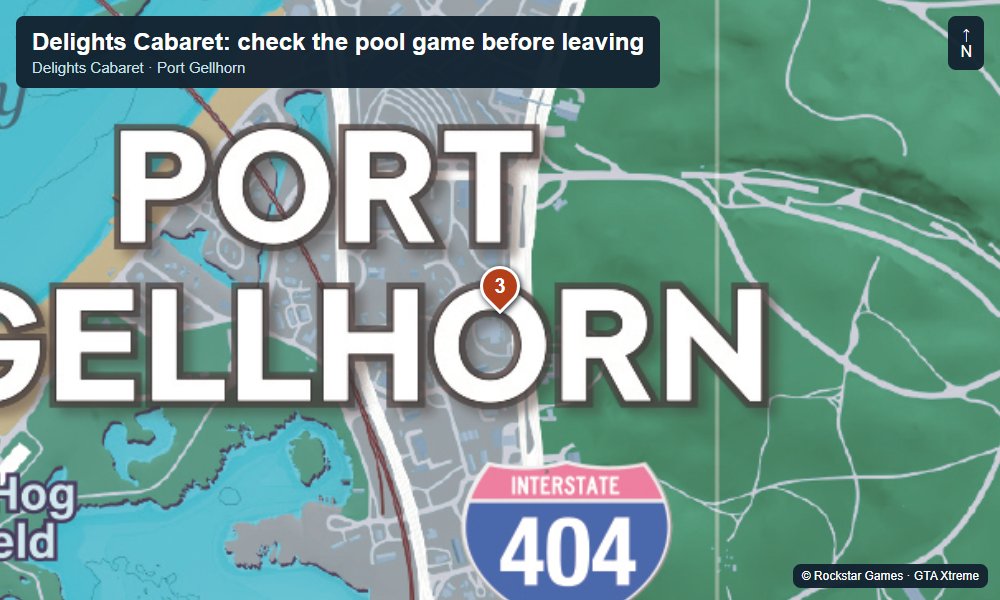
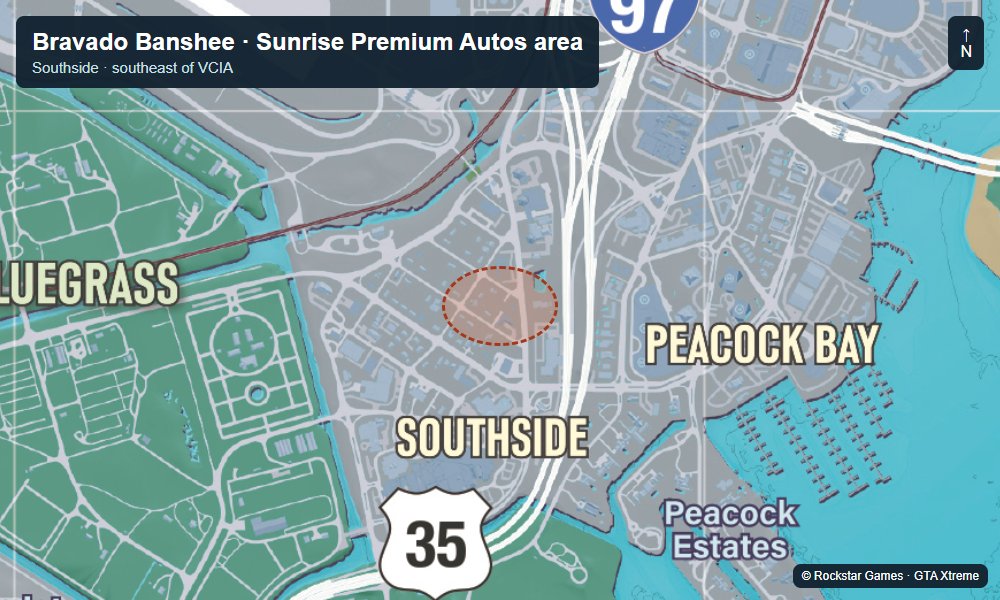
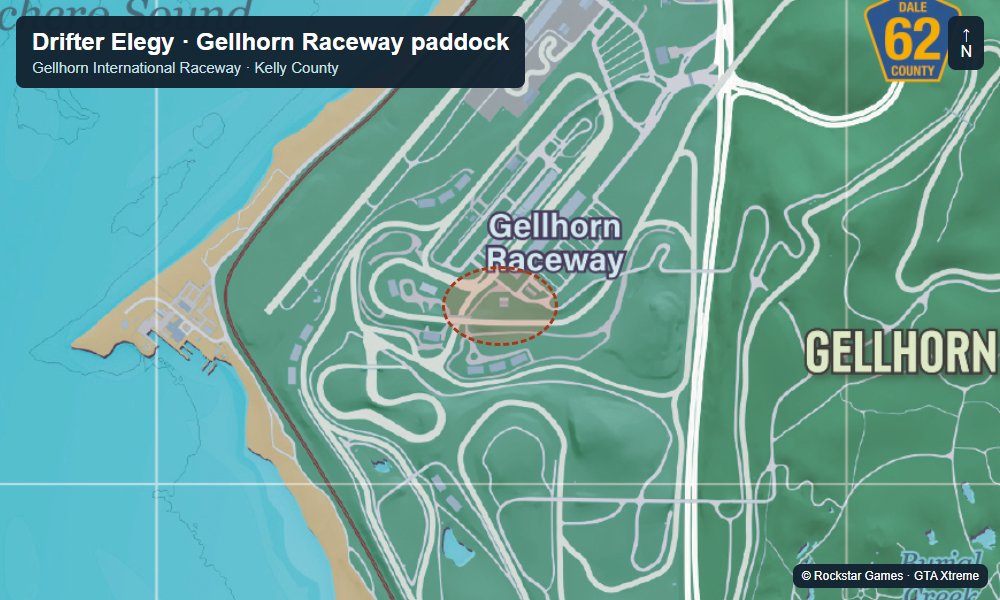
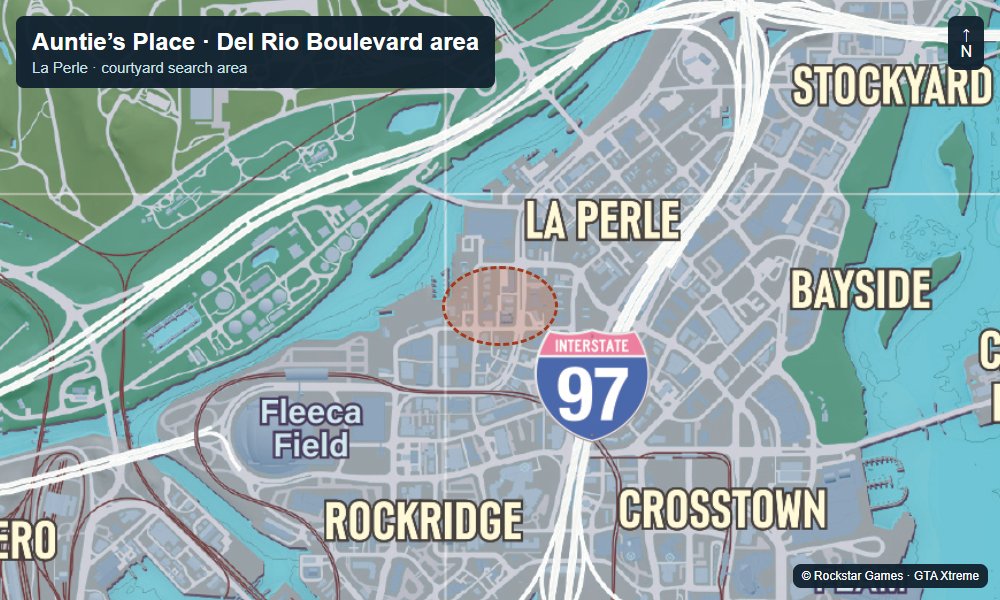
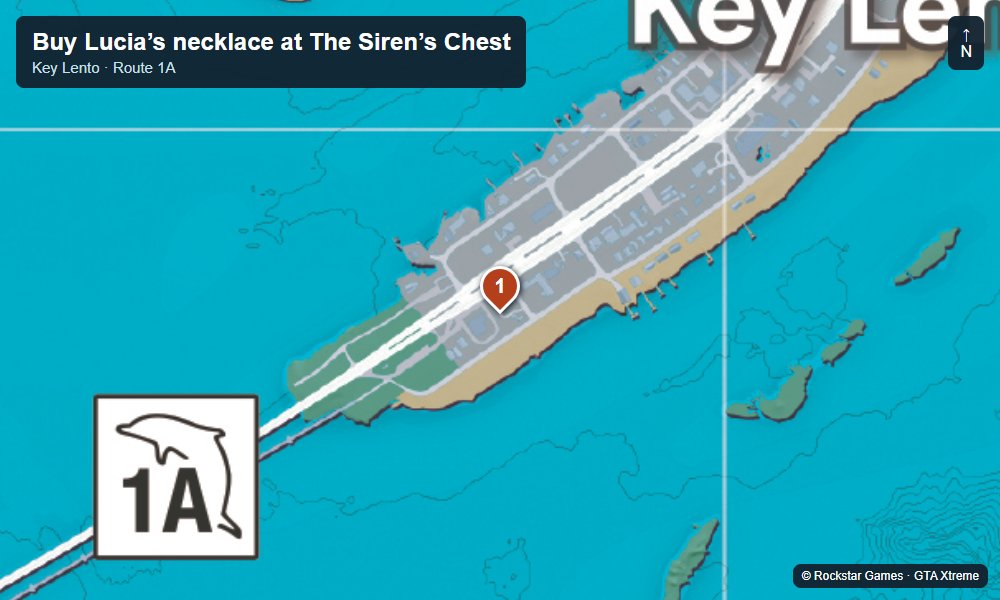
Map by Rockstar Games. Markers and screenshots by GTA Xtreme.
Before Checking Out: money, remaining jobs and your backup save
Keep cash and BuckMe funds separate when planning payments. Linda’s rent needs cash, so use an ATM if necessary and check the cash balance before talking to her. For other income, combine side jobs and eligible car sales with activities such as Kingpin Bowling; the safe-code guide shows the office safe and its clue.
Moses’ vehicle deliveries and Bret’s hunting tasks do not all have to be cleared before moving. Check their current objectives and your progress menu. If an expected job belongs to the other protagonist, switch between Jason and Lucia and check the available markers again.
Before accepting the move: collect the motel cards, check the office map, settle the available motel tasks, review the Delights pool opportunity and make the separate save. Then confirm the $15,000 target and the remaining story requirements in your current task list. Starting Checking Out is the point to commit to leaving the motel.
The mission list helps you compare the Chapter 2 jobs still listed in your save. Keep the backup slot instead of overwriting it immediately in Vice City, so you have a way back if you later notice a missed pickup or optional encounter.
Video: checks before finishing Chapter 2
The 2:15 clip uses the map and task screens to discuss the move to Vice City and remaining Chapter 2 objectives. It contains story-progression spoilers.