GTAXTREME
Find eight Fleeca locations with separate maps. Distinguish the Buck Me account visit, small bank jobs after Credit Check and later vault robberies before planning a trip.
A green Fleeca sign can mean two very different trips: opening your account during the story or returning much later for a robbery. These eight Fleeca locations give you mapped destinations across the Keys and Vice City. Check the current objective before treating every branch as an immediately available bank job.
The early Buck Me visit sets up banking. Use the ATM guide for ordinary deposits and withdrawals afterward. Neither owning an account nor walking into a lobby unlocks every robbery. The chapter overview helps separate the early account introduction from later tools.
Small Bank Jobs follow Credit Check in Chapter 3 with the Dye-Pack Jammer. Large vault jobs require the later Chapter 4 introduction, That’s Where The Money Is…. The locations below are grouped by those tiers; they are eight Fleeca entries, not all banks in Leonida.
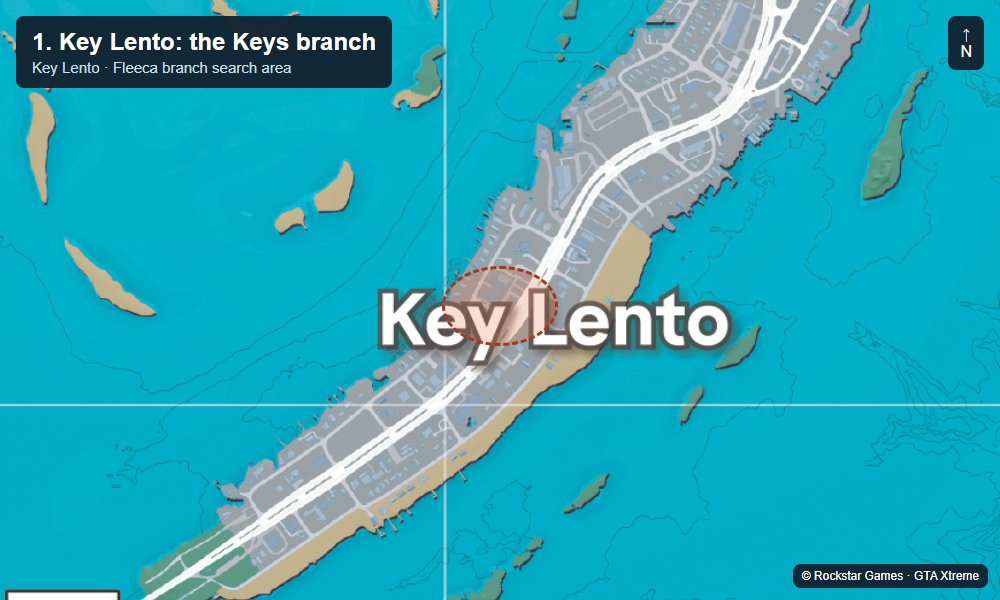
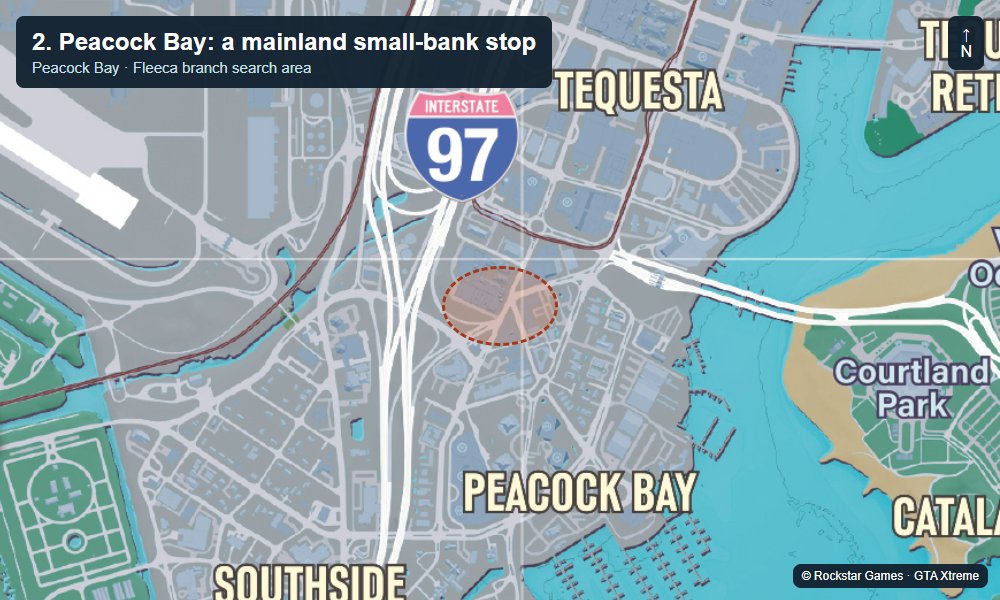
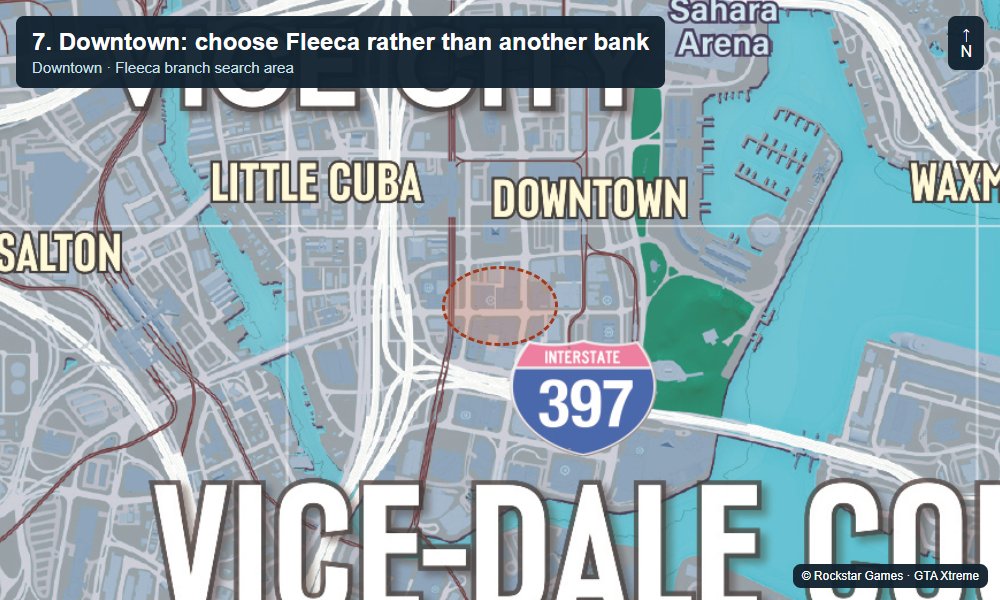
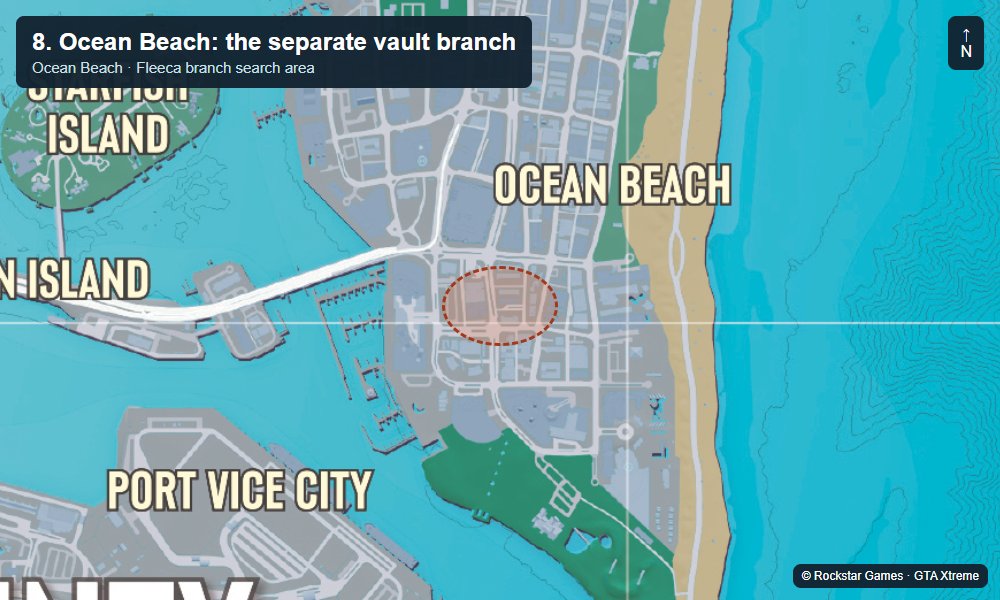
When the jobs are available, select the actual target with Map → Robberies → Bank Jobs. The circle in each map identifies the building area. On arrival, match the Fleeca branding and job icon rather than assuming a precise door at the centre of a circle.
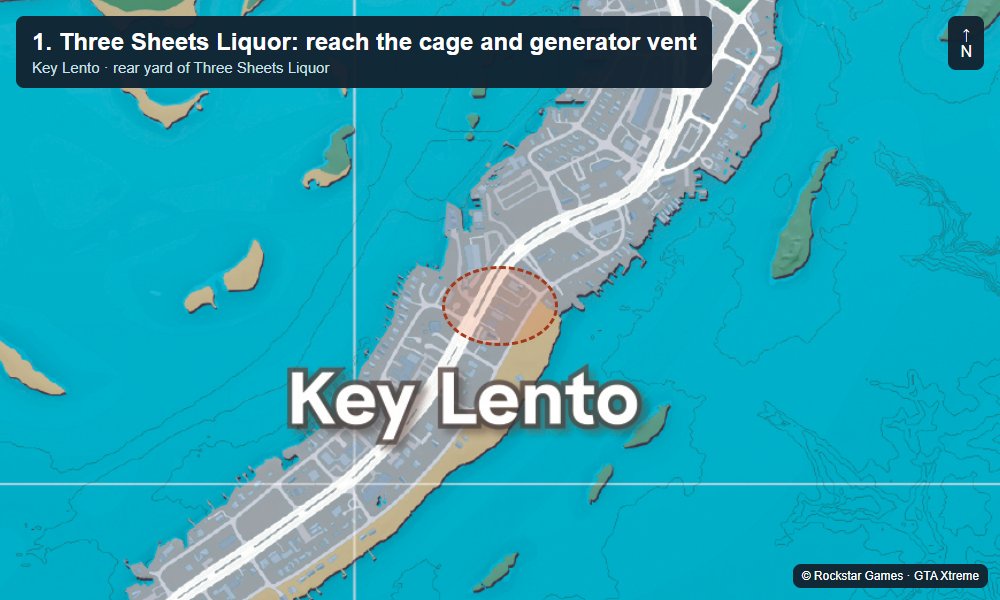
1. Key Lento: the Keys branch
Start in western Key Lento and use the Fleeca marker to approach the branch from the local road. Identify the green Fleeca frontage before entering. If you are following Buck Me, use its story waypoint and teller interaction rather than beginning a robbery.
For a later small Bank Job, inspect the current objectives after entering. Banking at the counter and taking a bank’s valuables are separate interactions. Keep a vehicle available for the trip back without blocking the entrance. The Key Lento guide helps plan other errands after the bank visit.
The clip shows the teller scene and BuckMe account setup. It is the early banking visit, not a walkthrough of all eight robbery locations.
Watch NeedForGaming’s Fleeca account-opening visit
2. Peacock Bay: a mainland small-bank stop
Zoom toward northwestern Peacock Bay on Vice City’s mainland and select this branch in the Bank Jobs list once unlocked. Use the road network into the marked area, then look for the Fleeca sign and customer entrance.
This is the smaller Peacock Bay Fleeca job in the checked list. Do not confuse a nearby bank from another chain with the selected target. Check the location name and remaining objectives before leaving the lobby.
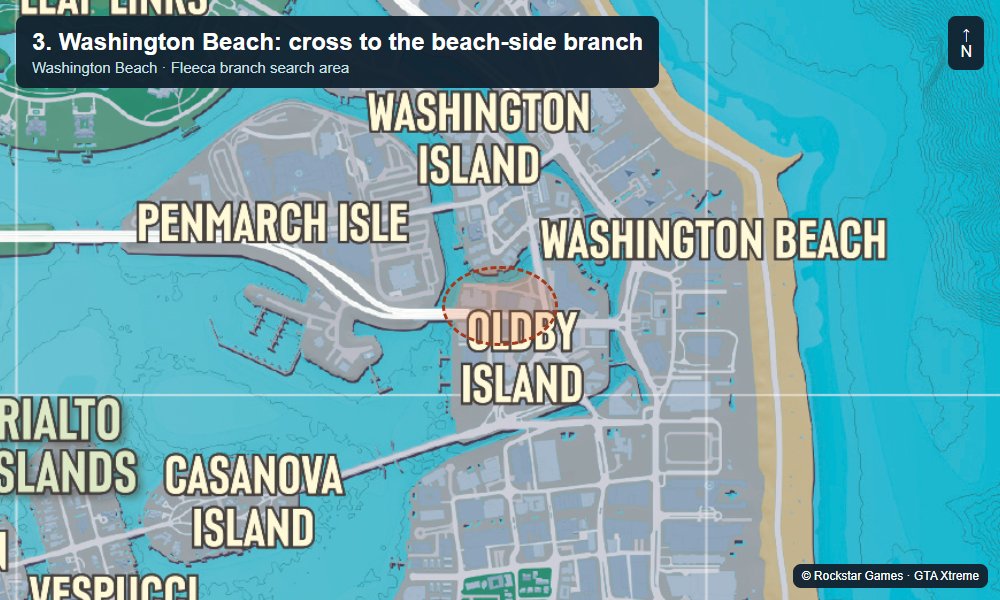
3. Washington Beach: cross to the beach-side branch
Set a waypoint toward southwestern Washington Beach. Plan the crossing to the beach-side islands. Let the road route choose the bridge rather than following the map’s straight-line distance. At the destination, confirm the green Fleeca identity against your selected job.
The marked area is a branch location, not a universal safe-code clue. Search the current robbery’s available hints and prompts instead of borrowing a combination from an unrelated bank or motel safe.
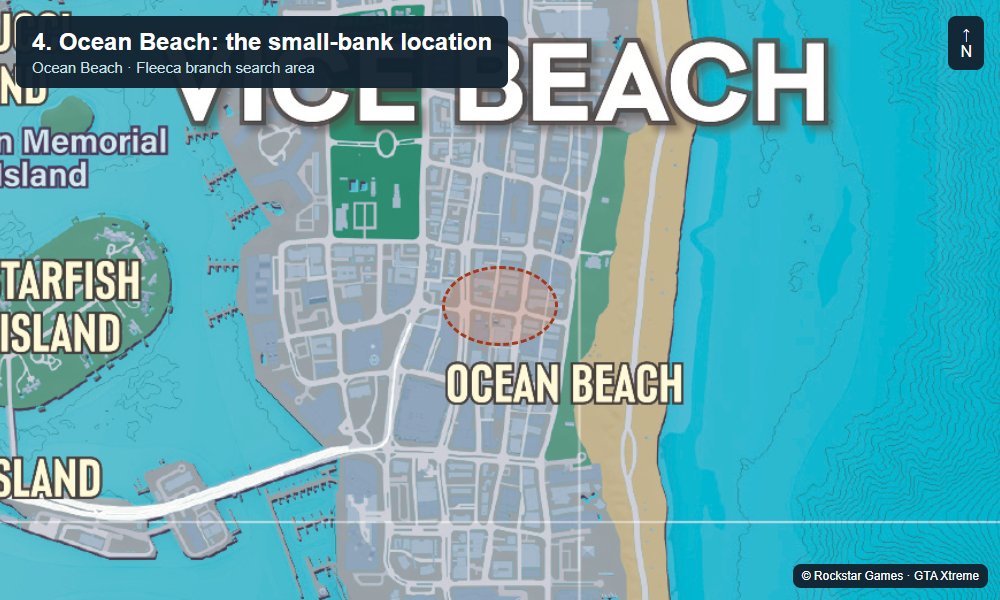
4. Ocean Beach: the small-bank location
Approach northwestern Ocean Beach using this map and the small Bank Job entry. There are two Fleeca destinations in the wider Ocean Beach area in this guide. Compare the circle and job type before stopping at the first green sign.
This entry belongs to the smaller-bank group. Inspect the cash-drawer and safe objectives rather than assuming that a later vault objective applies here. The second Ocean Beach Fleeca appears at the end of the guide.
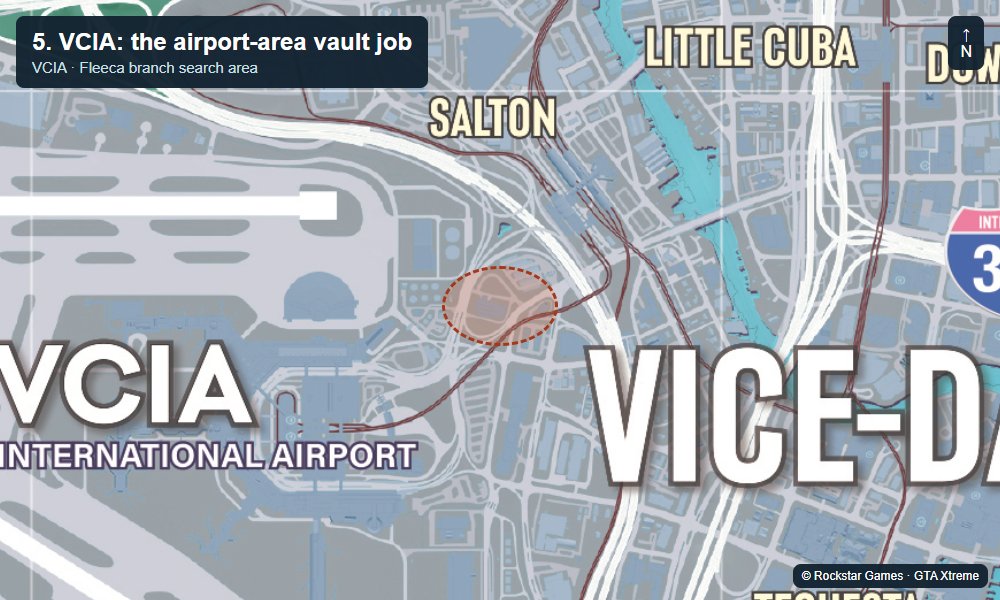
5. VCIA: the airport-area vault job
For the later vault tier, select Fleeca – VCIA and drive into the airport district using the current job waypoint. Your destination is the bank property, not an airport terminal or a marked airport entrance. Confirm the branch when you reach the map area.
Arriving early in the story does not open the vault. Follow the large-job introduction and its security-van instructions when available. Plan the escape before you commit to the robbery rather than discovering blocked roads after taking the goods.
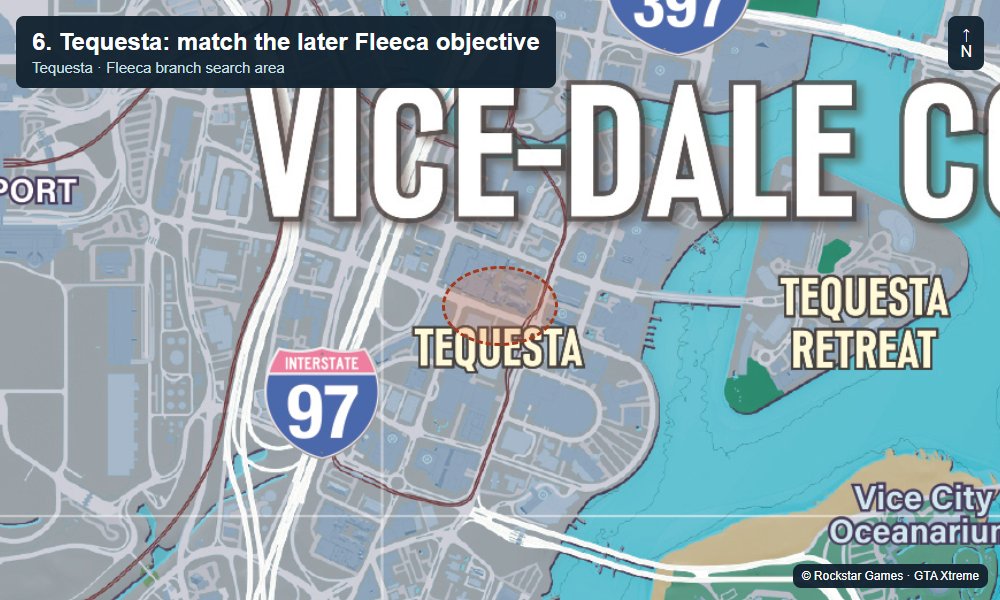
6. Tequesta: match the later Fleeca objective
Zoom to Tequesta on the mainland and follow the Fleeca vault-job waypoint into the marked blocks. Read the target label carefully if several robbery icons appear close together. Use the bank frontage and the selected objective to finish the approach.
Treat this as a later vault destination. A successful visit involves the objectives shown for your current job, not simply stepping inside a green-branded building. Leave room for carrying goods and keep the return route in mind.
7. Downtown: choose Fleeca rather than another bank
Use the Downtown Fleeca entry and the map circle to identify this branch on the city side. Downtown has other bank targets, so a nearby bank icon alone is not enough. Check the chain name before beginning a job you meant to track as Fleeca.
For the vault tier, follow the active setup and opening opportunity. Confirm the full checklist before escaping. Do not turn a displayed value or another player’s reward into a guaranteed payout for your own visit.
8. Ocean Beach: the separate vault branch
This second Ocean Beach Fleeca lies farther south than the smaller branch mapped earlier. Select the large-bank objective and compare the two circles before driving. The repeated neighbourhood name refers to two destinations, not two routes to the same entrance.
Use the later vault instructions and verify which valuables remain on the job checklist. Finish the getaway before planning the sale. The selling guide explains how stolen goods and marked bills become money you can actually spend.
Map by Rockstar Games. Markers and screenshots by GTA Xtreme.
Complete the job and check the money separately
The job checklist matters more than a quick visit: smaller jobs track the cash drawer and safe, while large jobs add a vault. Inspect the icon’s remaining objectives before counting a branch as completed. Keep a separate save before trying a later job for the first time.
For ordinary money management, use the Family Savings guide and banking instructions. Those systems serve different purposes from selling stolen bags. If the robbery tools are still locked, the easy money guide and loot locations guide provide other activities for your current progress.
Video: the early Fleeca visit and BuckMe setup
This 4:40 guide helps recognise the banking interaction before the later robbery systems become relevant.