GTAXTREME
Choose a money method for your current chapter: hidden cash, warehouse loot, a coded safe and Chapter 2 buyers. Five maps and advice on cargo, payments and savings.
You need money for the next purchase, but a full trunk, a hidden cash pickup and a stolen car all require different next steps. To earn easy money in GTA 6 start with what your current chapter and unlocked services let you finish. A smaller completed sale can be more useful than a promising haul with nowhere to take it.
In Chapter 1, look for accessible cash and illegal operations, then use the buyer your story has already unlocked. Chapter 2 adds the Port Gellhorn safes, Dunk and Moses. The five maps below are examples across those stages; they are not one short driving route across Leonida.
Decide whether you need immediate cash or can wait for a goods payment. Check your cargo space before a robbery and the vehicle’s acceptance conditions before stealing it for sale. For a concentrated later circuit, the Chapter 2 money guide connects nearby targets instead of sending you between distant regions.
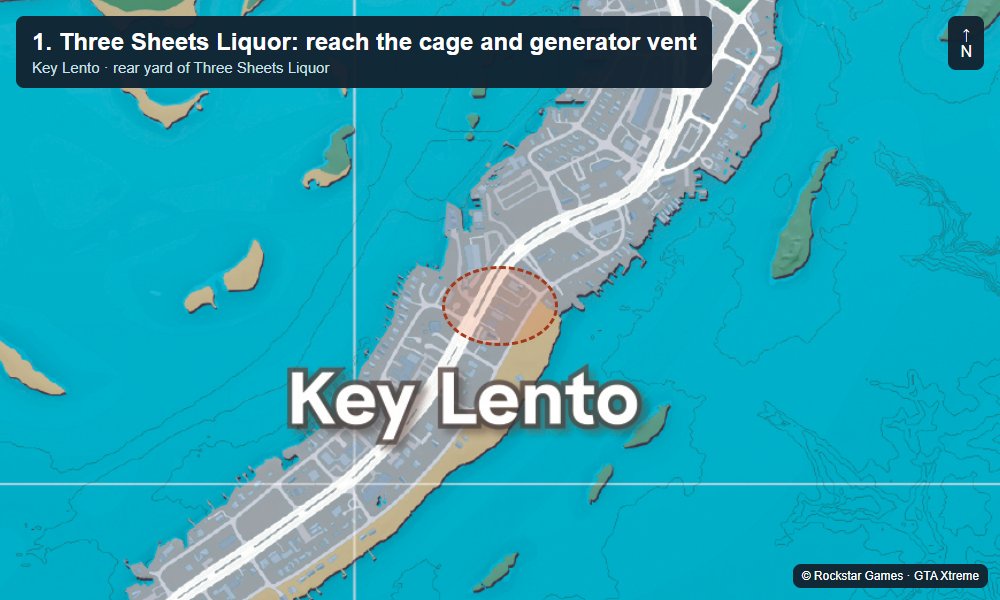
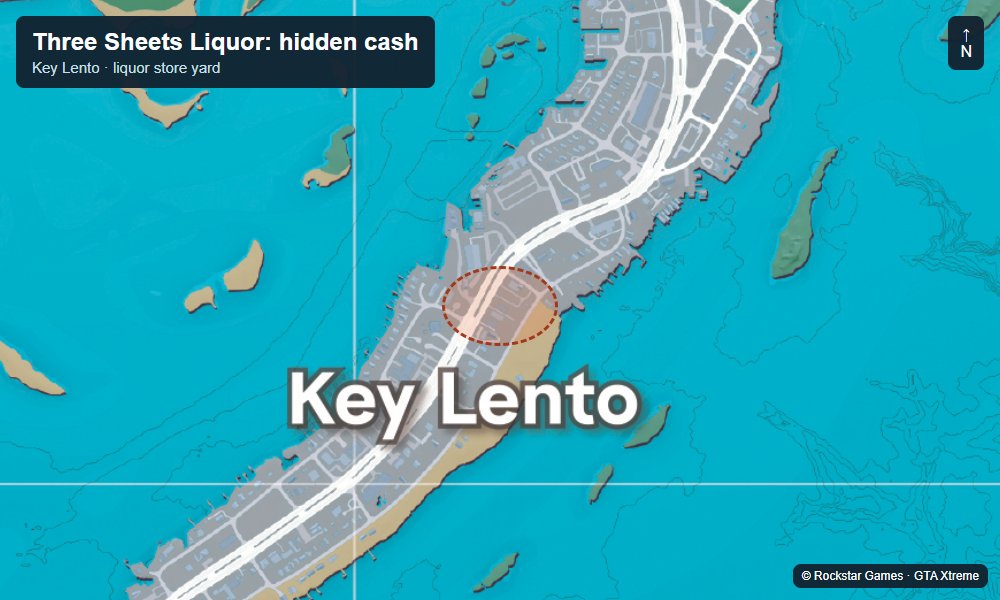
1. Three Sheets Liquor: an early hidden-cash stop
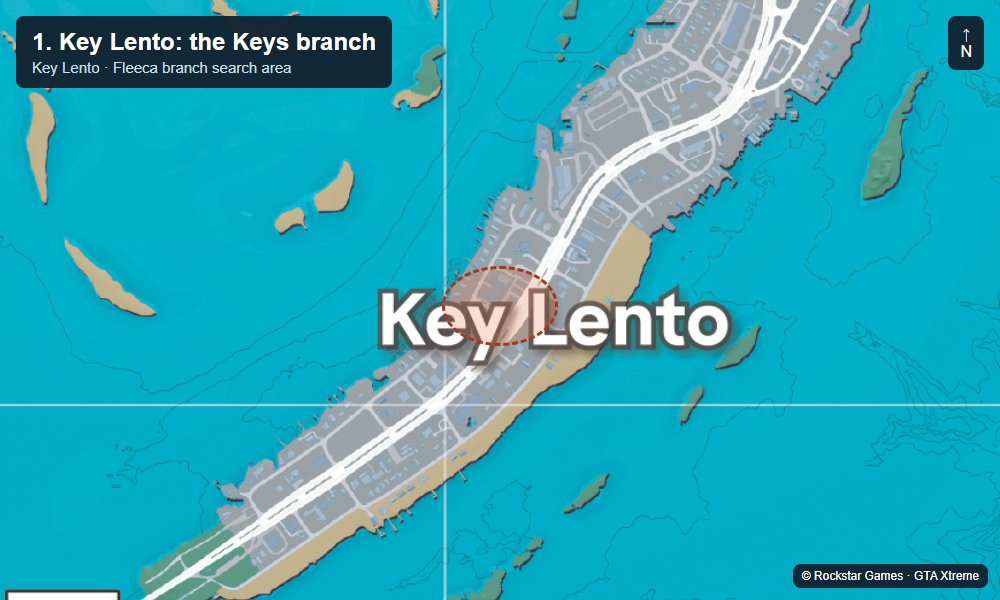
Find Three Sheets Liquor in Key Lento, a little north of Pay N’ Spray. From the shopfront, climb the fence on the left into the rear yard. The yard is guarded, so prepare for a confrontation. Look for the caged parrot and use its cash-related conversation to point you toward the hidden pickup.
Face the cage and look ahead to the left for the generator in the corner. Open the white vent beside it and collect the cash. The loot guide includes this stop with other hidden pickups. This is a specific discovery; do not plan a repeatable income loop around a claim that the same vent always refills.
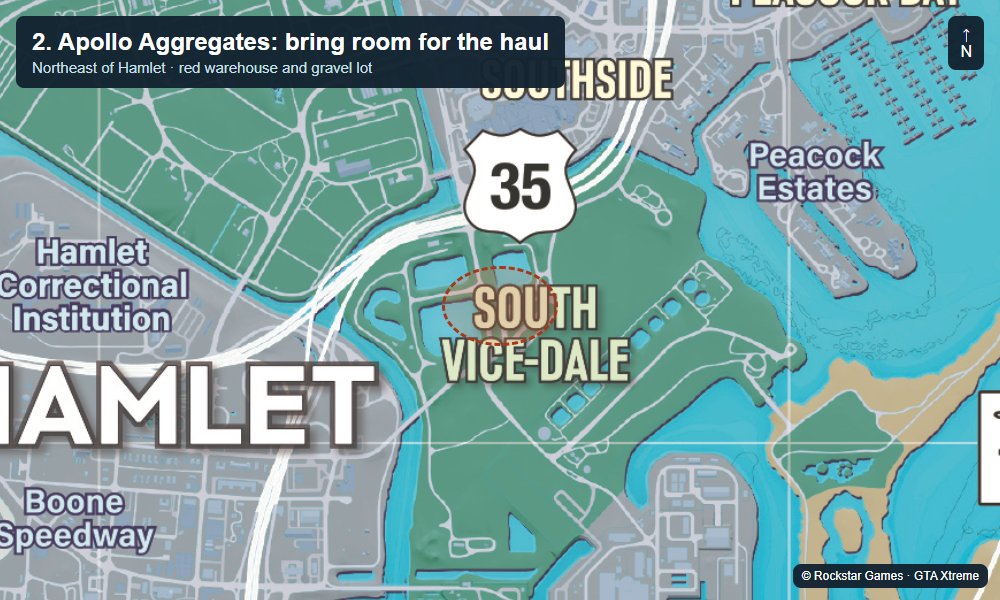
2. Apollo Aggregates: bring room for the haul
From Hamlet, head east to northeast toward Apollo Aggregates. Look for the red industrial warehouse, gravel access and excavators. Park so that you can use the trunk, then check the small office and vans inside for available contraband and bags. The map marks the property area.
Treat the available warehouse loot as a normal collection trip first. Put bags into usable cargo space and plan an unlocked buyer before leaving. The stash-bag guide explains what to do with goods that cannot simply be added to your wallet.
You may have seen this location advertised as unlimited money. The warehouse glitch guide separates the reported save-and-reload loop from an ordinary haul. No current patch was independently replayed for this article, so the money plan here does not depend on the loot resetting.
MrDalekJD’s clip shows the warehouse map and the loot/vehicle route. Treat its unlimited-money title as the creator’s claim; the version check above still applies.
See the warehouse, office loot and vehicle loading
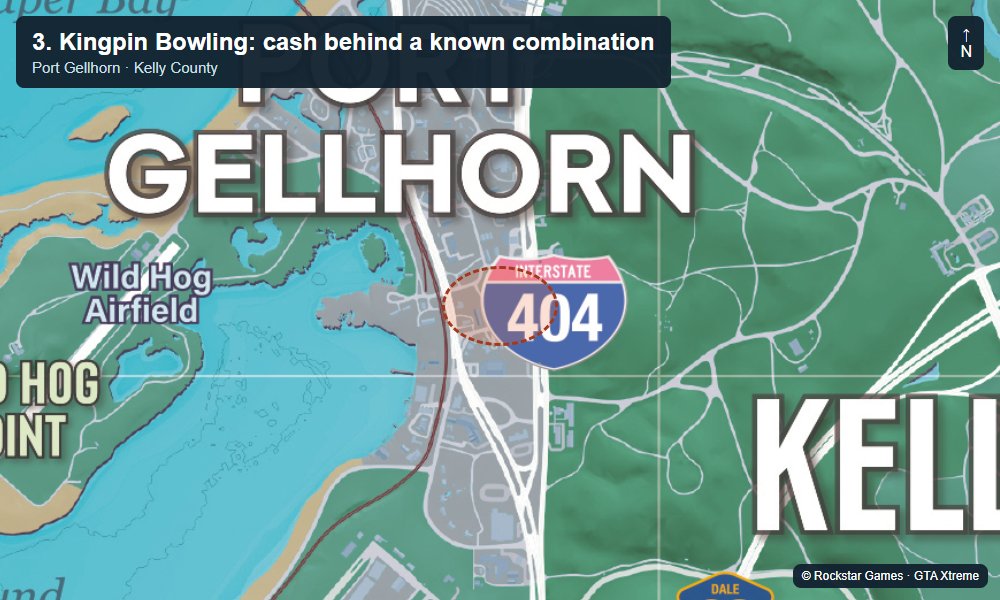
3. Kingpin Bowling: cash behind a known combination
In Chapter 2, travel to Kingpin Bowling in Port Gellhorn and look for the office toward the northeast of the building. Expect guards while searching the interior. Bring appropriate equipment rather than assuming that knowing the code removes the fight.
Use 0300 at the safe. Keep the leading zero. The bowling-alley guide explains the safe in detail, while the other two local safes provide additional destinations if you want a longer trip. Known combinations save you the detour of searching for explosives; the actual reward still comes from what your save contains.
This timestamped ConCon segment shows the approach and search for this safe. The complete video covers all three Port Gellhorn safes.
Watch ConCon’s route for this safe
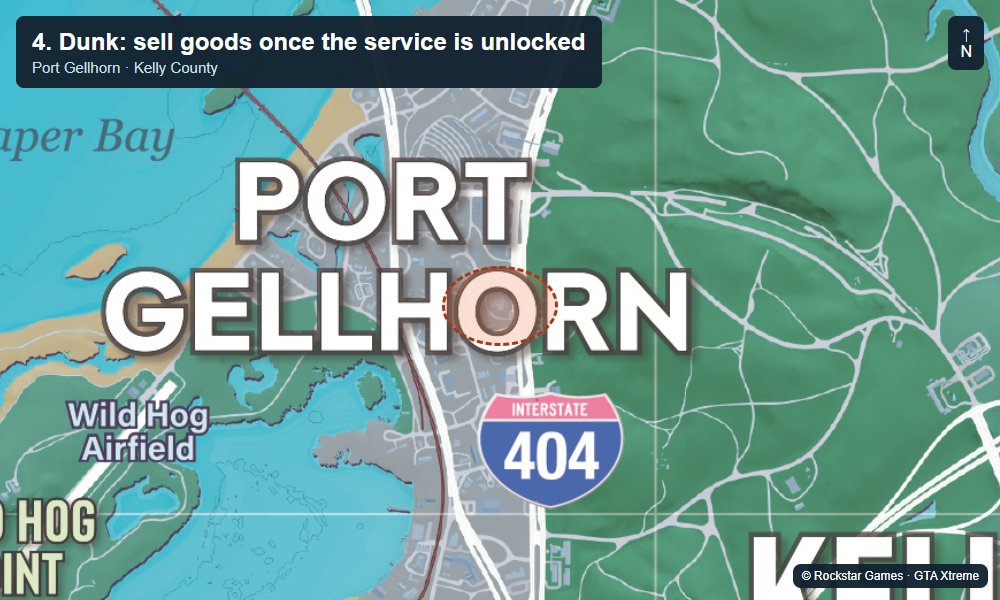
4. Dunk: sell goods once the service is unlocked
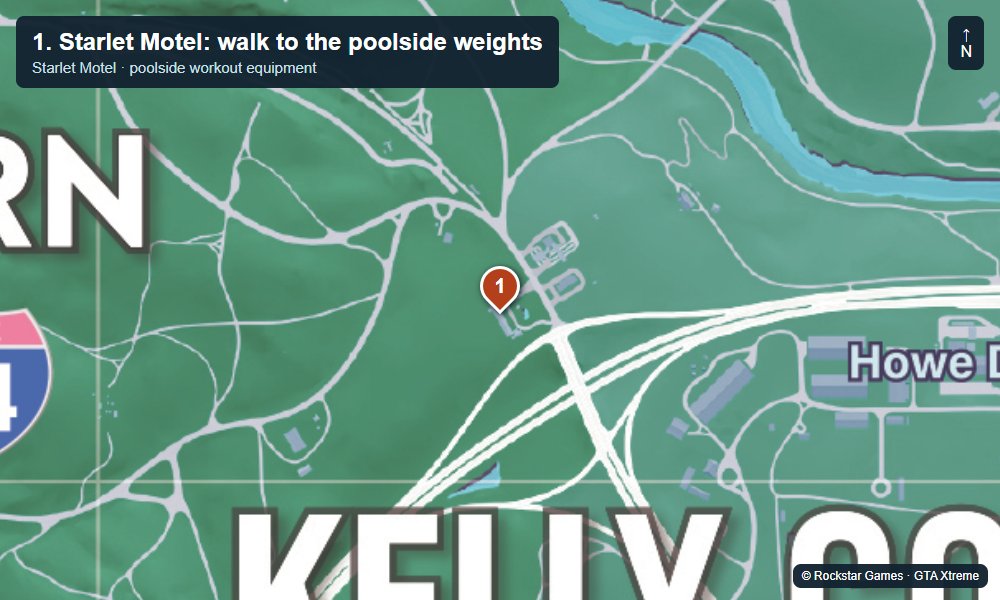
After Slam Dunk follow the Dunk fence marker to the trailer property. Use the available goods interaction, check what is accepted and read the offer before handing over cargo. A map full of robbery opportunities is useful only if you can turn their goods into a payment.
Check whether the displayed interaction pays now or requires a later step. Count received money separately from bags you have only dropped off. In earlier chapters, use the buyer your own progress has unlocked instead; do not drive to Dunk expecting a later service to be open from the start.
5. Moses: use a suitable car or an active request
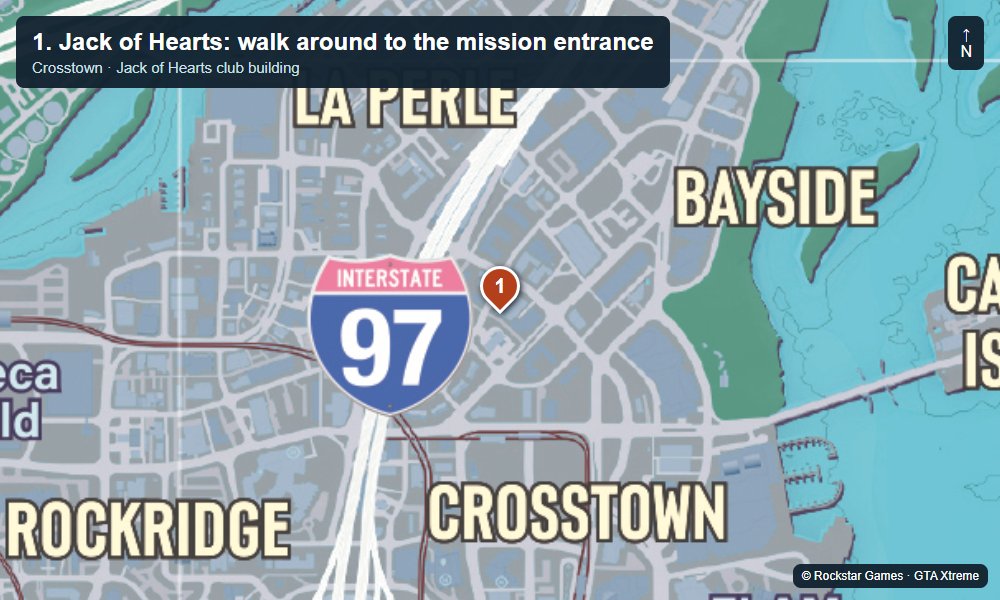
Head to Watkins Auto Parts in Port Gellhorn after Moses’s introduction becomes available. Scan a prospective sale vehicle with WAiNK and check eligibility before bringing it back. An expensive car is not automatically accepted, and a car you registered to keep represents a different decision from one you sell.
For structured jobs, read the current request under Robberies → Moses Drop-Offs. The Moses guide supplies the model locations and delivery steps. Keep the vehicle in good condition and follow the destination prompt. Use these requests as objectives with a beginning and an end, rather than guessing that any passing vehicle will produce the same payout.
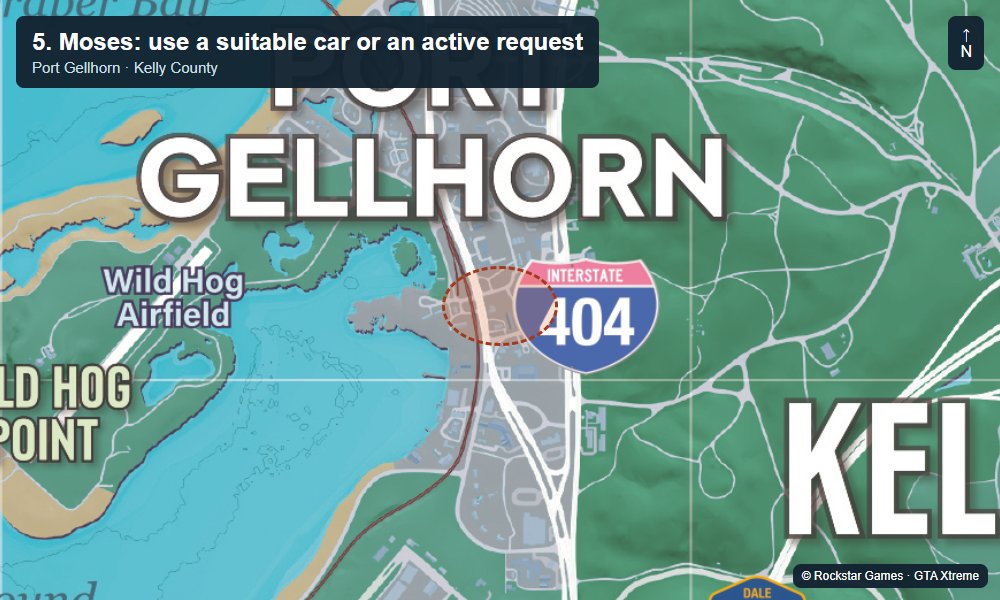
Map by Rockstar Games. Markers and screenshots by GTA Xtreme.
Keep the money useful after earning it
For more options beyond these mapped examples, Kenton’s treasure dives provide another activity chain. The treasure guide explains the sites and equipment. Choose an activity you have actually unlocked and compare its full travel and preparation with the amount you still need.
Banking helps organise money but does not create income. The ATM guide explains the balance types. Check the separate Family Savings rules before a transfer; its protected chapter-saving role is different from having cash available for an immediate purchase. Before Tourist Trap review the savings steps rather than assuming all carried money is protected.
Check your wallet and account after a complete activity, then subtract optional supplies, repairs and purchases. That gives you your own result. These methods do not require a fixed dollars-per-minute claim, guaranteed respawns or a money cheat to be useful.