GTAXTREME
Plan a money-making circuit in Kelly County: three Port Gellhorn safes, Dunk’s goods service and Moses’s cars. Five maps, preparations, codes and payout checks.
You have bags in the trunk and a story purchase still to fund. In Kelly County the useful money route connects robbery targets around Port Gellhorn with the right buyers. Begin by checking your available services, then choose how much cargo and combat you want to take on before returning to sell.
The route below covers five verified stops in the Port Gellhorn part of Kelly County, not every money source across the whole county. Dunk’s goods service follows Slam Dunk; Moses opens through his Chapter 2 introduction. The chapter guide helps if those interactions are still missing.
Before leaving, clear useful trunk space, check equipment and keep a separate save. Choose one target first if money for supplies is tight. The existing Chapter 2 money route gives the compact order; this guide explains the decisions around a run, including when to stop looting and how to check whether the trip actually paid.
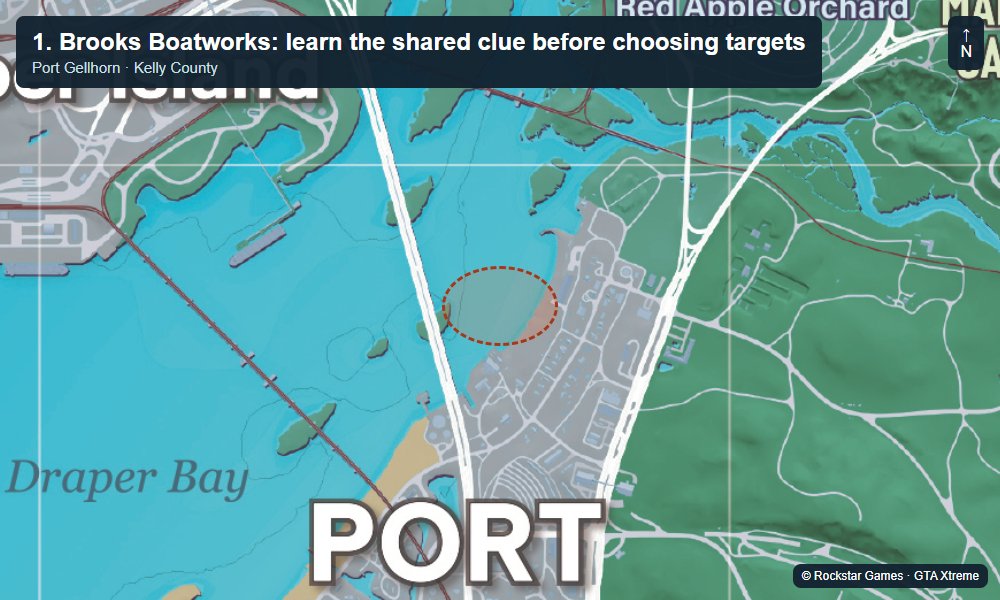
1. Brooks Boatworks: learn the shared clue before choosing targets
Head for Brooks Boatworks on the northern waterfront. Enter the guarded compound with enough room to retreat. On the east side, take the exterior staircase to the office and inspect the wall map. It gives you a reason to visit once even if you plan to split the three robberies across separate trips.
Record the combinations: Brooks 6823, La Cascara 6969, Kingpin 0300. Brooks’s own safe is in an office to the left of the main building. Keep the clue office and the safe office distinct when searching. Collect the available haul and check what remains before deciding whether to continue.
A full vehicle is a good reason to visit a buyer now. Carrying more items into another guarded property only helps if you still have space and can get everything out. The loot locations guide provides other destinations for a later trip.
This timestamped ConCon segment shows the approach and search for this safe. The complete video covers all three Port Gellhorn safes.
Watch ConCon’s route for this safe
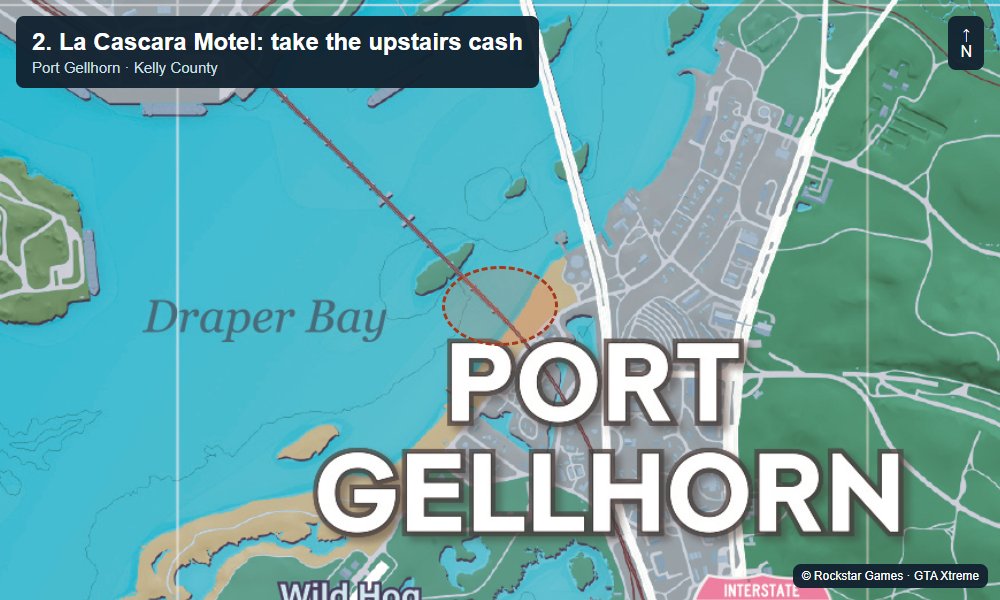
2. La Cascara Motel: take the upstairs cash
Continue to La Cascara Motel west of the central town area. From the courtyard, climb the central stairs or an accessible fire escape to the uppermost floor. Move carefully past the landings; gang members may be present before you reach the room.
Look for the yellow wall by the safe and use 6969. Check the room before retracing your route. Count the money that actually entered your wallet, then decide whether the bowling alley is worth another stop with your current health, ammunition and cargo. No fixed motel payout is assumed here.
This timestamped ConCon segment shows the approach and search for this safe. The complete video covers all three Port Gellhorn safes.
Watch ConCon’s route for this safe
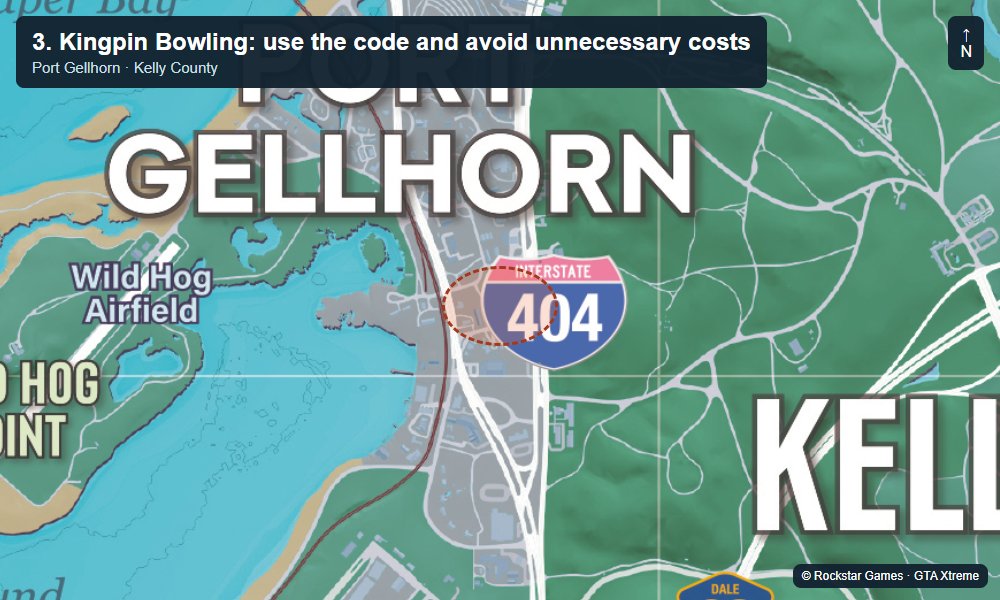
3. Kingpin Bowling: use the code and avoid unnecessary costs
Set a waypoint for Kingpin Bowling and approach the building from the road. Inside, search toward the office in the northeastern section. The bowling safe guide helps you identify the room if the public bowling area makes the layout confusing.
Enter 0300 including the first zero. Using the known combination means you do not need to buy or hunt an explosive just to open this safe. Search the accessible valuables, then leave by a route you have already cleared. This is another guarded robbery, not a risk-free cash dispenser.
This timestamped ConCon segment shows the approach and search for this safe. The complete video covers all three Port Gellhorn safes.
Watch ConCon’s route for this safe
4. Dunk: turn collected goods into an actual payment
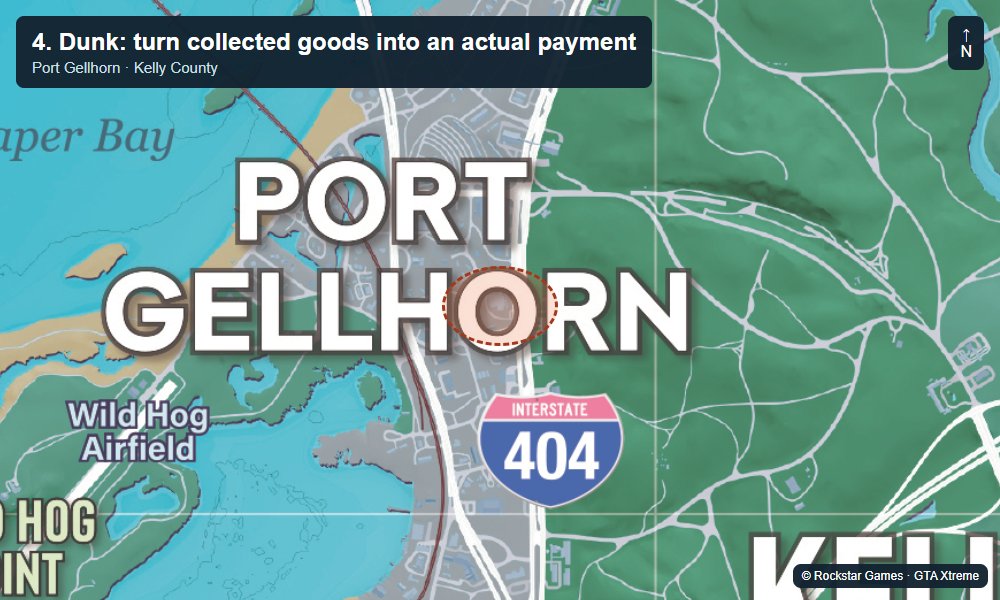
Return to Dunk’s trailer using the fence marker after Slam Dunk has unlocked the service. Check the current goods interaction and accepted categories. Bring the appropriate bags to the indicated handover or drop-off point instead of assuming that parking nearby completes the sale.
Read the offer and payment timing. The selling guide explains goods categories and why the headline value of your cargo is not the same as a guaranteed offer. Check the resulting balance or follow the stated collection instructions before adding that amount to your next purchase budget.
If you still need money after selling, choose another available robbery or an active vehicle job. This route does not promise that an emptied safe or pile of contraband immediately refills when you drive away.
5. Moses: add a vehicle job when the request suits your trip
Go to Watkins Auto Parts for Moses. Once the relevant introduction and requests are available, open Robberies → Moses Drop-Offs and read the current message. The Moses vehicle guide shows each requested model; the BF Bandito guide helps with the moving swamp buggy when that is your active target.
Scan the actual vehicle with WAiNK before committing to the journey back. Eligibility and the active objective matter more than an expensive badge. Preserve the car’s condition and follow the delivery prompt at the workshop. Registering a car for yourself is a different transaction from selling or handing over the requested vehicle.
Check the payment after delivery and subtract the supplies or repairs you chose to buy during the trip. Comparing the money before and after a complete circuit is more useful than multiplying a reported reward by an assumed number of repeat runs.
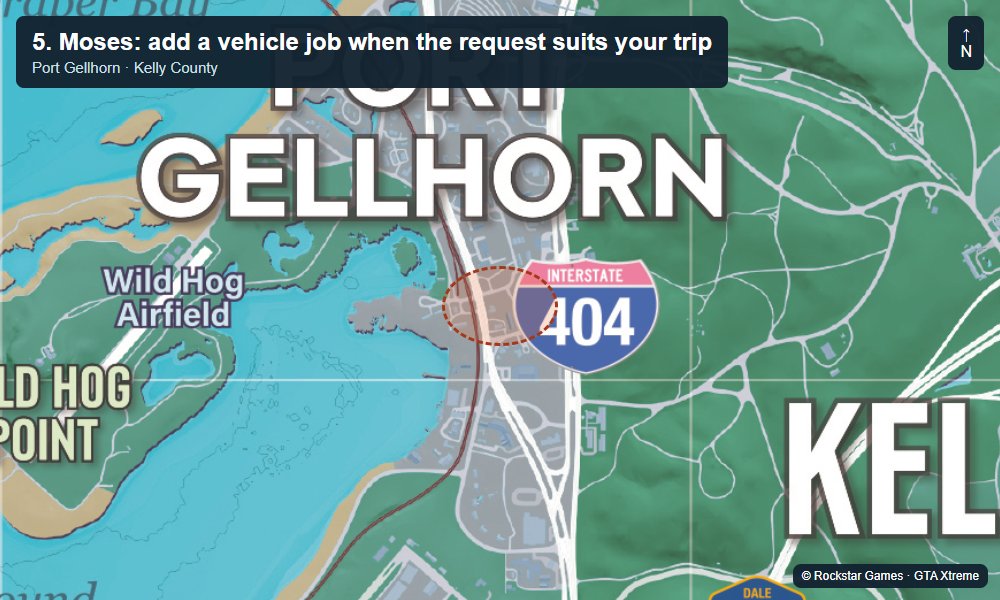
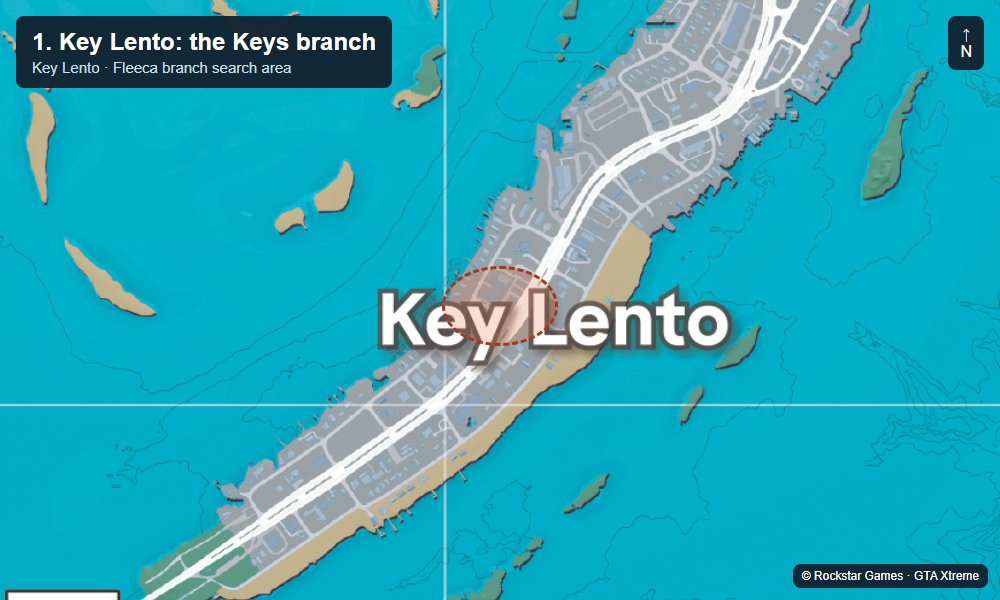
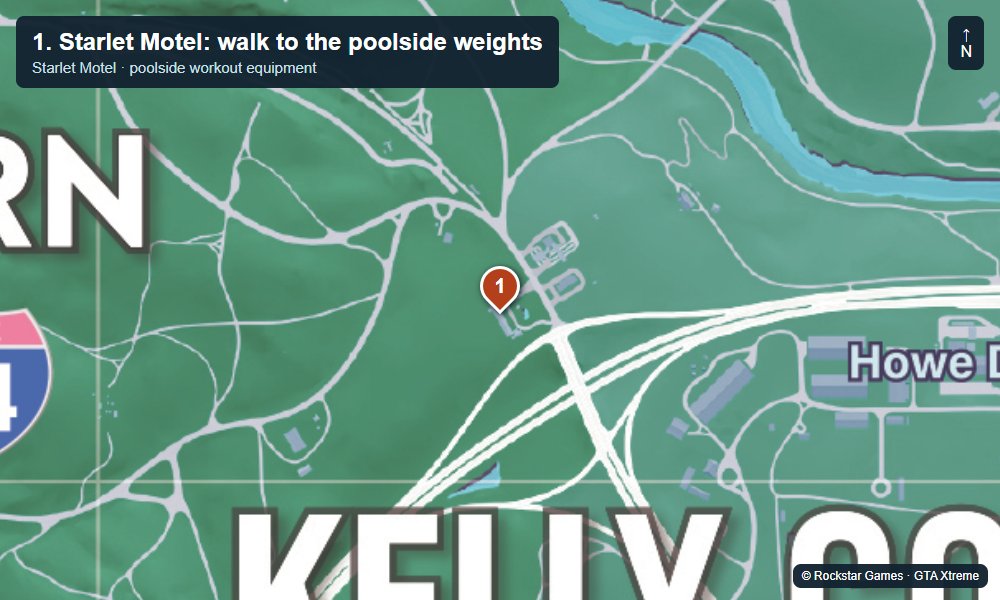
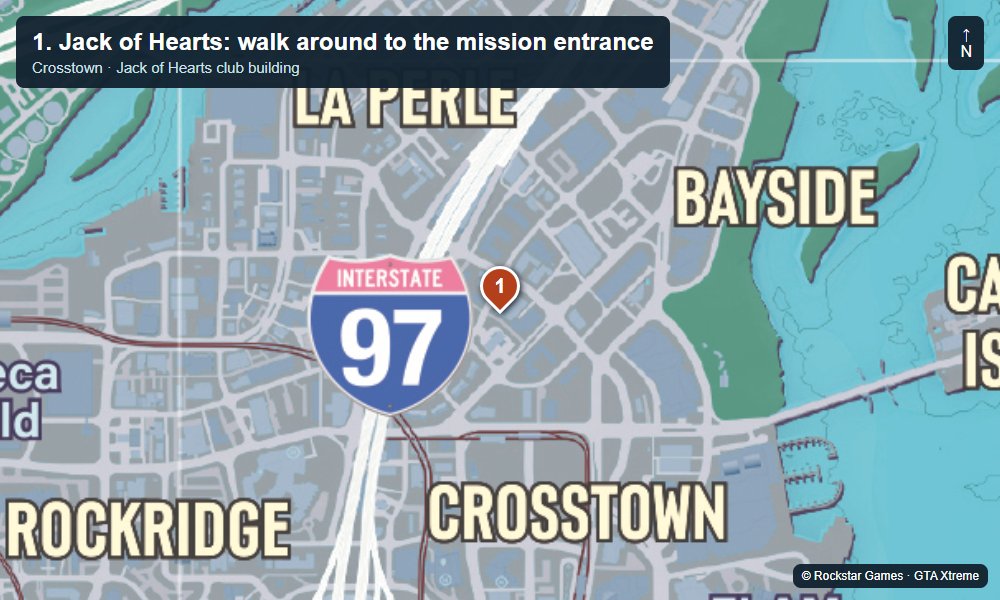
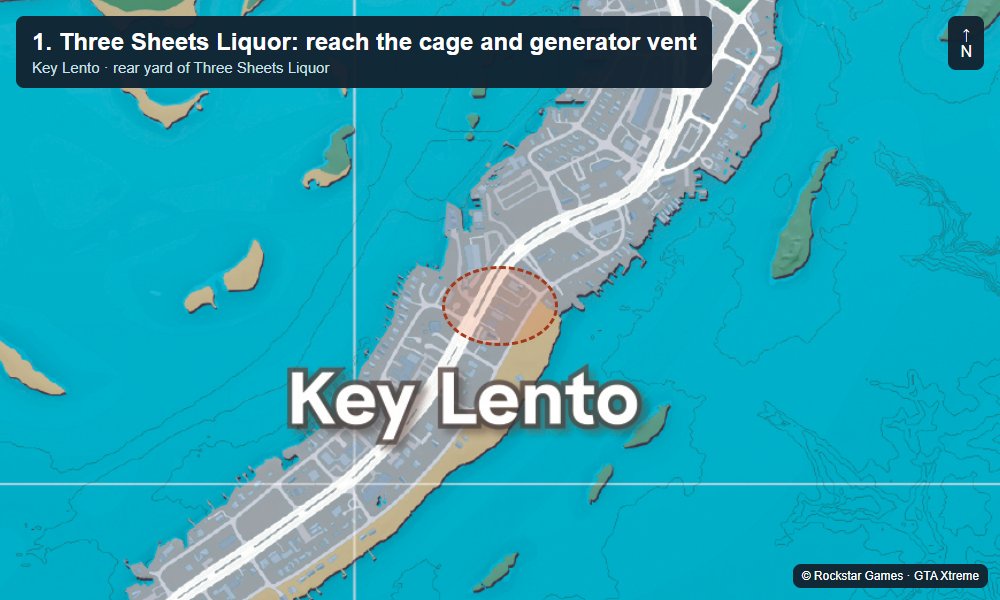
Map by Rockstar Games. Markers and screenshots by GTA Xtreme.
How to keep the next trip manageable
Finish the current sale or delivery before setting off for a new branch of the map. Refill only what you need, keep a usable vehicle and leave enough available money for immediate story costs. The ATM guide explains how to move cash between your wallet and banking services.
Family Savings serves a different purpose from the money needed for the next purchase. Check its rules before transferring funds. The warehouse money glitch is another separate method; its reported reload loop is version-dependent and is not needed for these Kelly County stops.
Video: the three Port Gellhorn safes
The 11:06 guide links the wall-map clues to all three safe interiors. Use the section previews above to jump to each building; the full video includes guarded robbery scenes.