GTAXTREME
Find GTA 6’s Bigfoot south of Hamlet, follow the swamp encounter and learn how Kirk’s Skunk Ape quests continue the mystery. Includes Full HD video stills.
GTA 6’s Bigfoot encounter starts with a detour into the wetlands south of Hamlet. The creature also goes by Skunk Ape and Mr. Mangrove, names that become important when you follow Kirk’s side missions. This guide separates the short open-world encounter from the longer questline so you know which destination and requirements apply.
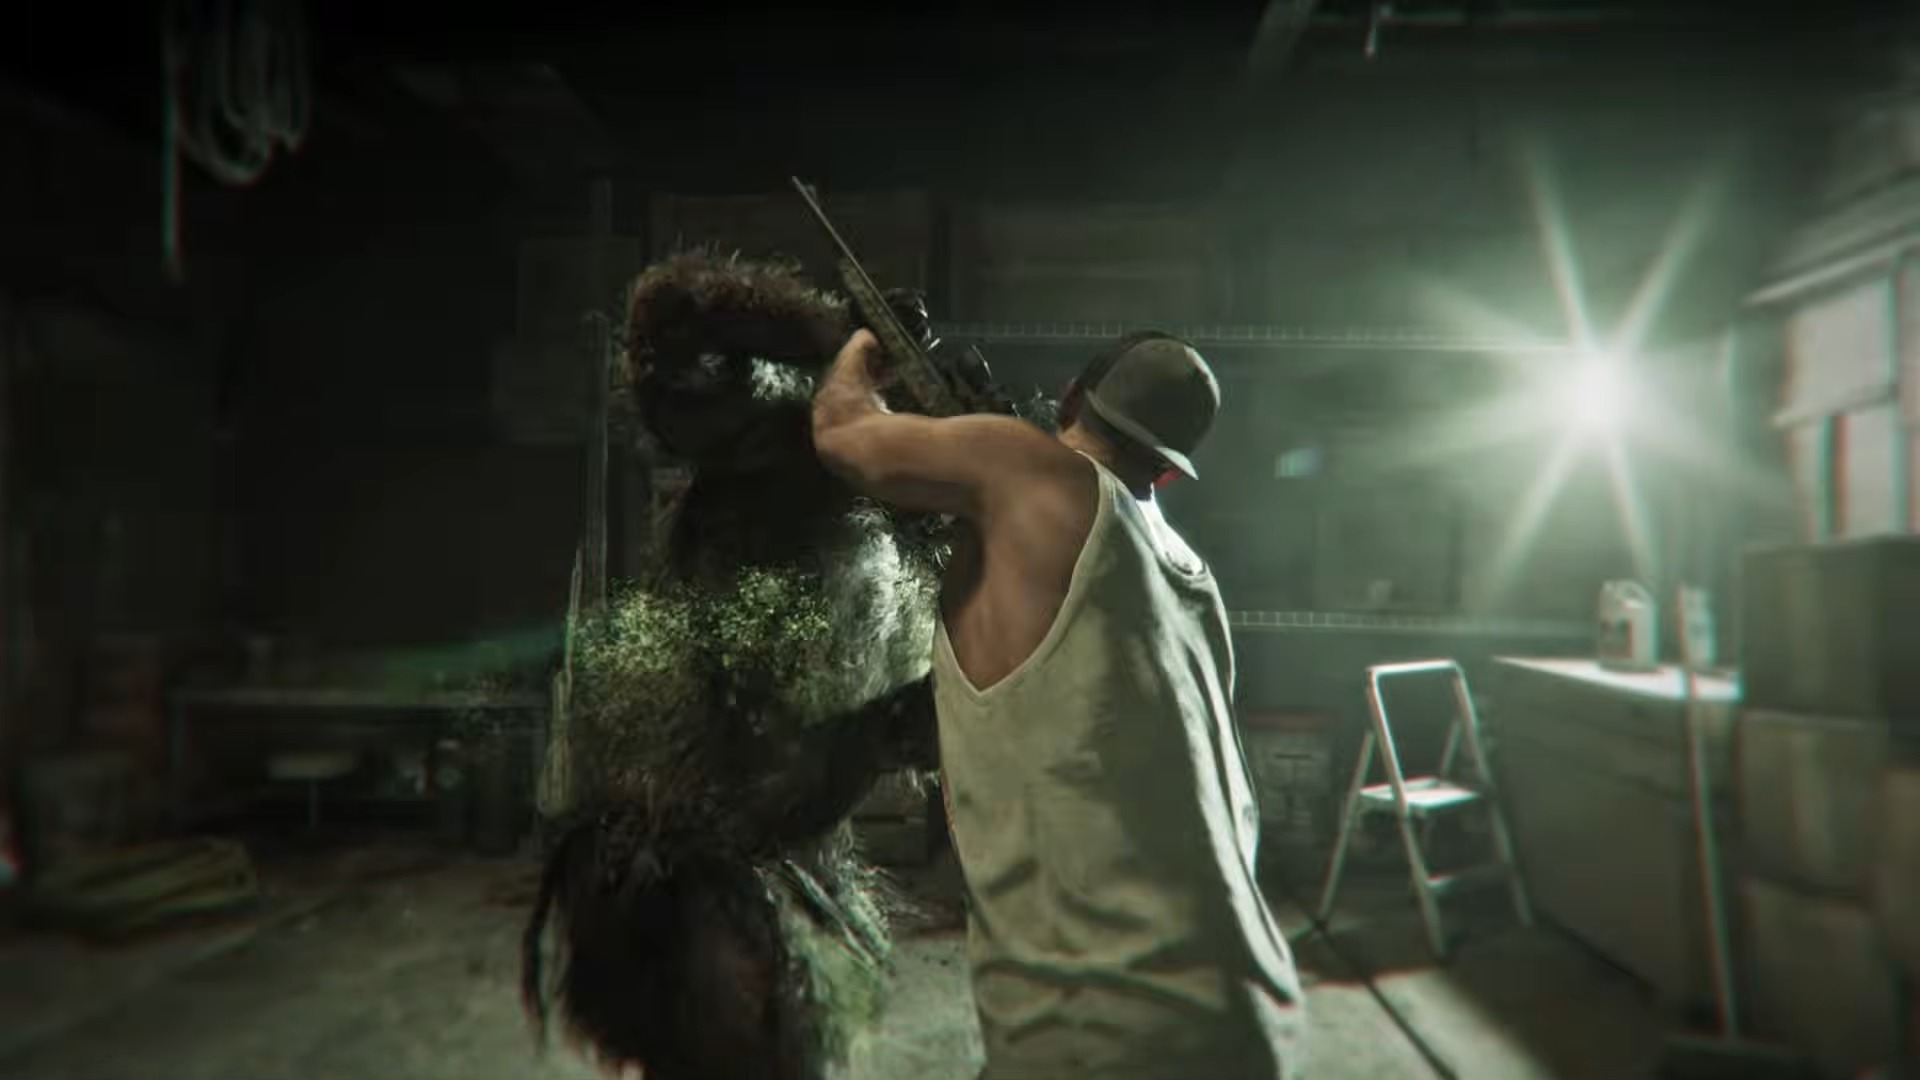
Gameplay: Rockstar Games. Frame from the linked recording at 295 seconds (1920 × 1080 pixels).
Spoiler note: the location comes first. The encounter’s ending and later quest rewards are explained under clearly labelled headings below. Research checked on November 20, 2026; based on the linked gameplay footage and published walkthroughs, not a claim of our own playtest.
Where is Bigfoot in GTA 6?
Start at Hamlet and look south toward Cottonmouth Lake. The documented road encounter is in the wetlands between the town and the lake, rather than in central Vice City or the northern mountains. Insider Gaming identifies this as an early free-roam discovery, so you do not need to finish the main campaign before looking.
Location reporting: Insider Gaming
Our interactive map marks the documented roadside search area south of Hamlet. Select the Bigfoot icon for a short description and a link back to this section. The marker is an orientation aid, not a guaranteed spawn point in every save. Compare nearby roads and water as you arrive.
Open our Leonida map and location guides
How to approach the encounter
1. Slow down on the wetland road
Keep an eye on the road and listen for an unusual growl. The initial sighting involves a creature near an animal carcass. Radio Times independently describes the same Cottonmouth Lake encounter, helping distinguish this discovery from unrelated Bigfoot videos, speculation and older GTA clips.
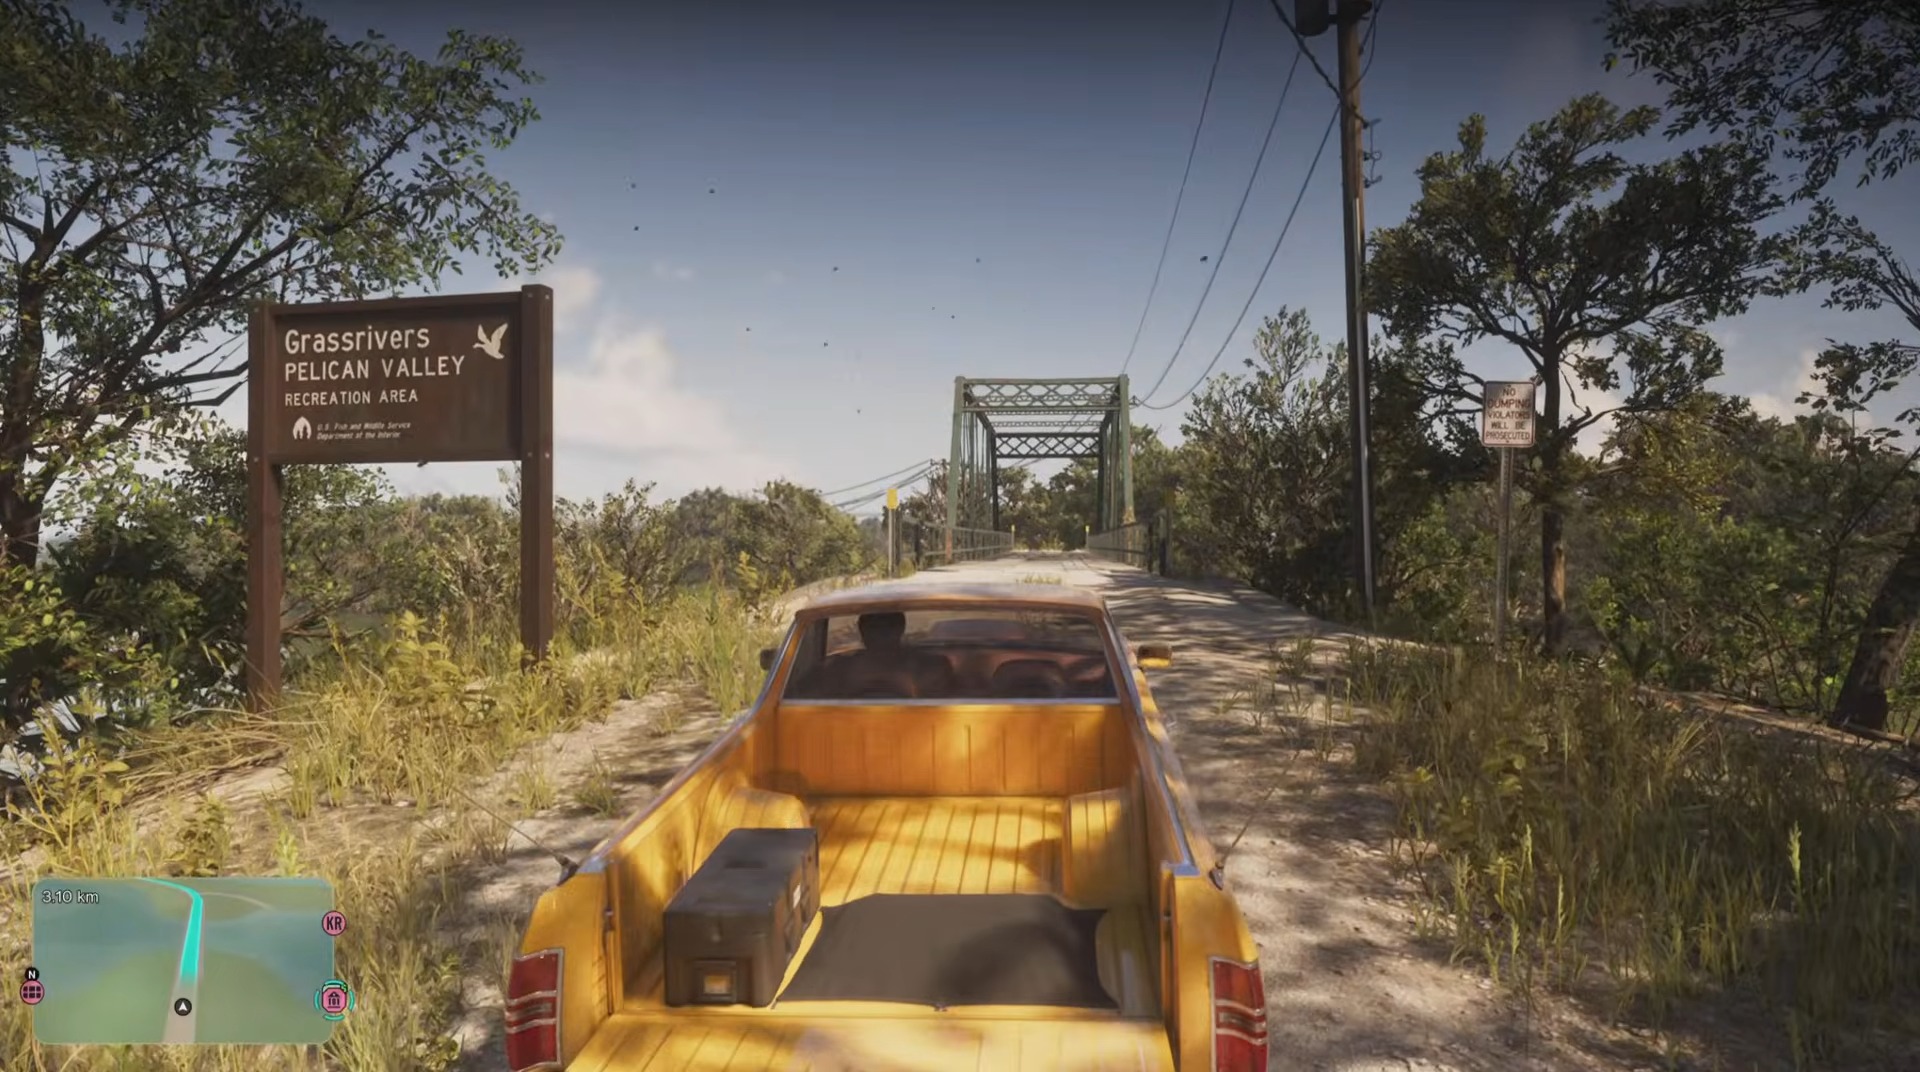
Gameplay: Rockstar Games. Frame from the linked recording at 15 seconds (1920 × 1072 pixels).
2. Follow the movement into the trees
Once the creature leaves the road, continue into the marshland. GAMES.GG recommends following on foot and keeping a save from before the encounter if you want another attempt. Treat a reload as a practical backup, not a guaranteed reset: we have not verified a universal respawn timer or a repeatable farming method.
Additional encounter notes: GAMES.GG
3. Look for the effigy
The important landmark is a figure attached to a tree. Do not assume that losing sight of the moving creature means the sequence has failed. The still below lets you compare the object with your surroundings without relying on a vague instruction to search the entire swamp.
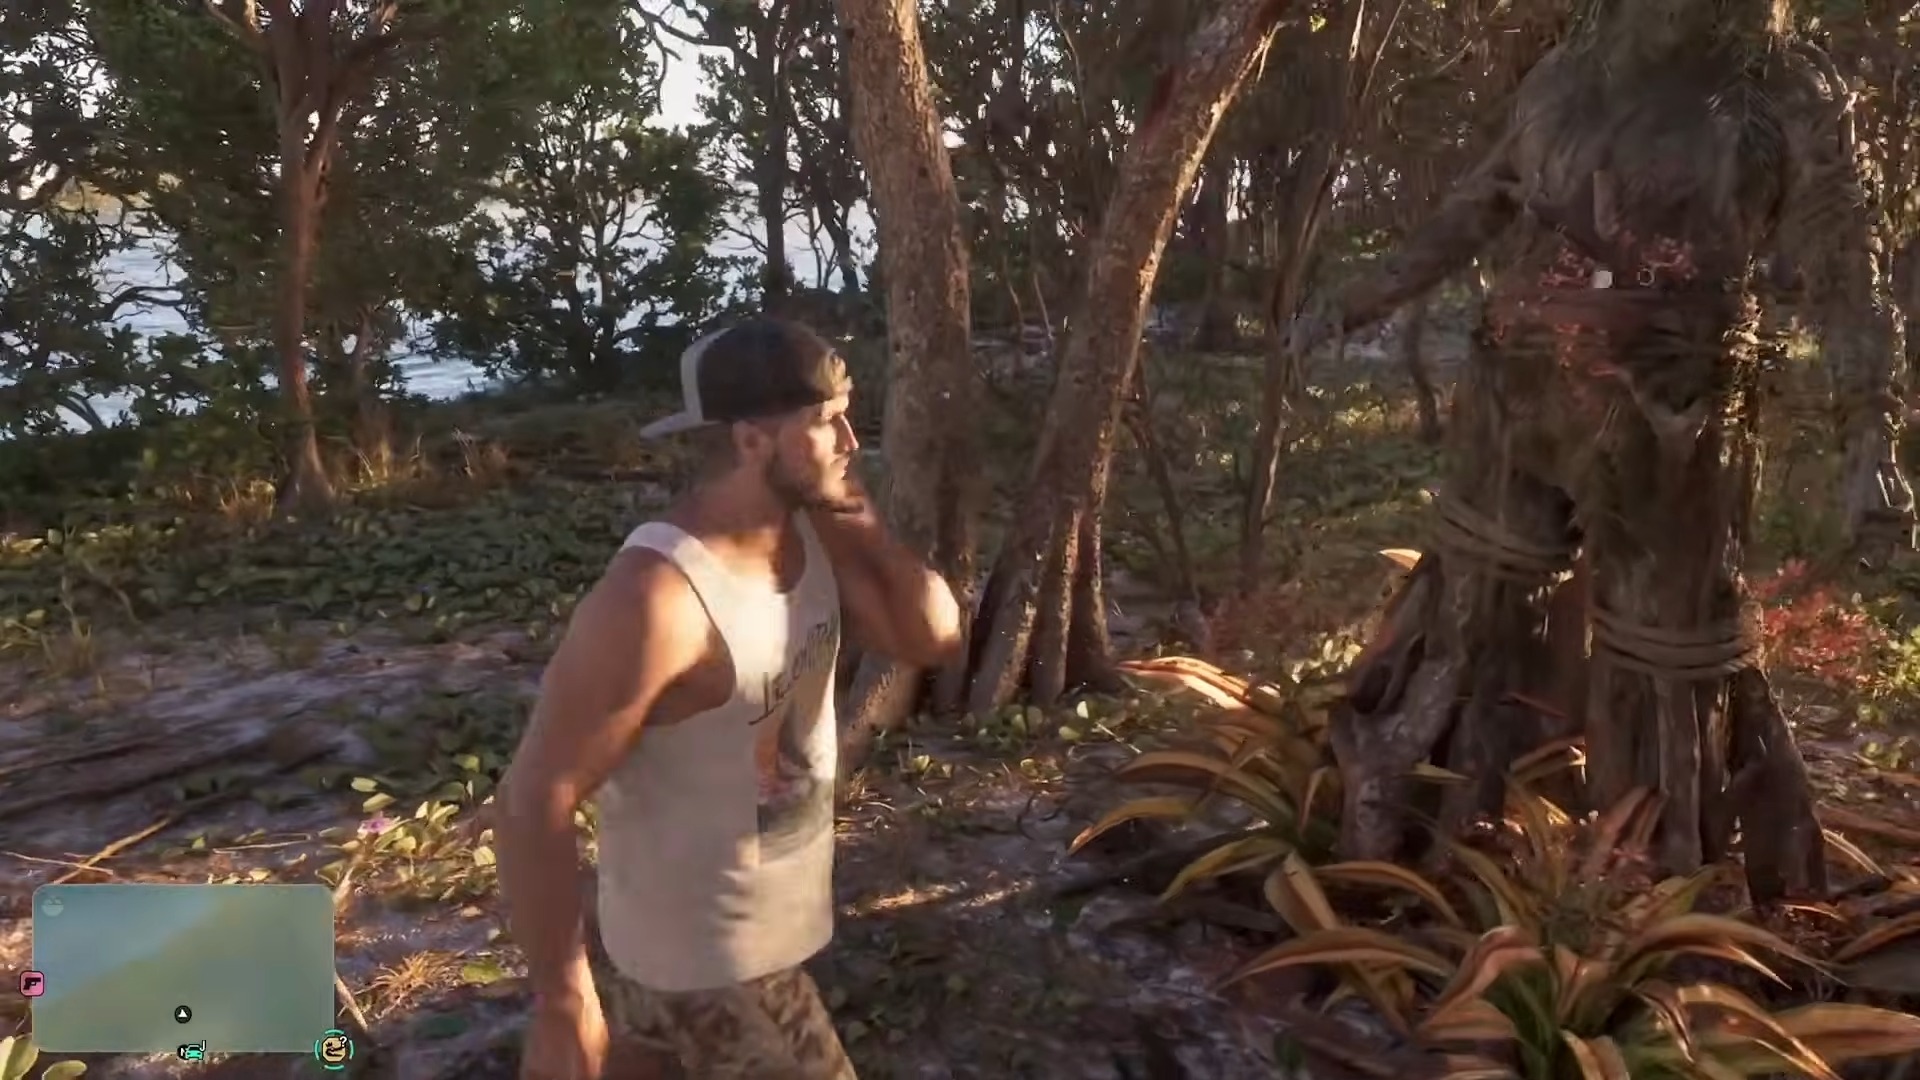
Gameplay: Rockstar Games. Frame from the linked recording at 40 seconds (1920 × 1080 pixels).
Encounter spoilers: what happens at the effigy?
PowerPyx’s encounter guide describes a green haze around the effigy. Remaining there leads to a blackout sequence and a brief close encounter before the character wakes nearby. This is the payoff to the roadside discovery; it should not be confused with completing all of Kirk’s missions.
How to start Kirk’s Skunk Ape questline
The longer investigation has its own entry point. According to PowerPyx’s first-mission walkthrough, read one of Kirk’s flyers and call the contact it adds to your phone. One documented flyer is at Skeeter’s bar in Hamlet. The first mission is available in Chapter 1 and takes place at night; it can be started with either protagonist.
Search for the Skunk Ape
Also called Skunk Apeology 101, this mission sends you searching with Kirk. His drone and the investigation of traces provide a more structured hunt than the roadside sighting. The published walkthrough lists a $1,000 reward. Follow the mission objectives rather than returning repeatedly to the original roadside marker.
First mission requirements and objectives
Search for Tree Effigies
After the first mission, wait for Kirk’s message. The next stage asks you to inspect three tree effigies in Pelican Valley. PowerPyx says the order does not matter and lists no cash reward for this step. If the search area is missing, check that the preceding mission is complete and the message has arrived.
Tree effigies mission walkthrough
Quest spoilers: the final hunt and rewards
Help Kirk Find Mr. Mangrove, also called Advanced Skunk Apeonomics, follows the effigy search. PowerPyx lists Chapter 2 onward, Lucia and nighttime as requirements, together with Kirk’s follow-up message. The finale involves a tranquilizer-rifle variant called Mister Mangrove Laird 350. A later decision changes the outcome and whether you receive an additional $10,000.
Those rewards belong to the quest finale, not the short swamp encounter. We leave the full identity reveal and ending scenes to the linked walkthrough so you can choose whether to spoil them. Keep a separate save before the finale if you want to make that decision yourself.
Final mission and ending details — major spoilers
If Bigfoot does not appear
First decide which event you are trying to trigger: the roadside discovery, Kirk’s first night search, the effigy task or Lucia’s finale. They do not share the same checklist. For a mission, check the current objective, character, time of day and required message. For the open-world sighting, compare your position with the video and listen before rushing past the road.
We are not listing an exact spawn hour, weather condition or guaranteed repeat trigger for the roadside encounter. The sources reviewed do not establish those rules consistently. Repeating an unsupported checklist would make the guide less useful, especially when it risks mixing the requirements of different stages.
Watch the encounter and explore more secrets
The embedded gameplay shows the open-world encounter. The original Full HD stills come from the recordings linked beneath each image, with direct timestamps. Gameplay artwork belongs to Rockstar Games. The featured image shows a later Skunk Ape quest encounter; the other images illustrate the wetland approach and tree effigy.