GTAXTREME
Our complete money guide from the first cash in Key Lento to the $205,000 bank vaults: step-by-step routes, safe codes, a fence comparison and three tested farming routes.
If you don't want to wait forever for the next story payday in Leonida, you need to know where the quick money is, and how to protect it from the police and from the story itself. We've combed the Keys, the Grassrivers swamps, Port Gellhorn and Vice City, cracked safes, compared fences and timed our own farming routes.
Our verdict after countless raids: in GTA 6, your starting capital is literally lying in the street, in forgotten air vents and behind well-guarded steel doors. The best early spots are the Apollo Aggregates warehouse near Hamlet, the Manatee Motel, the abandoned crab research outpost in Pelican Valley and Kenton's wreck dives off Key Lento. Later on, the focus shifts to car thefts for Moses and Randy, jewelry stores and the big bank vaults.

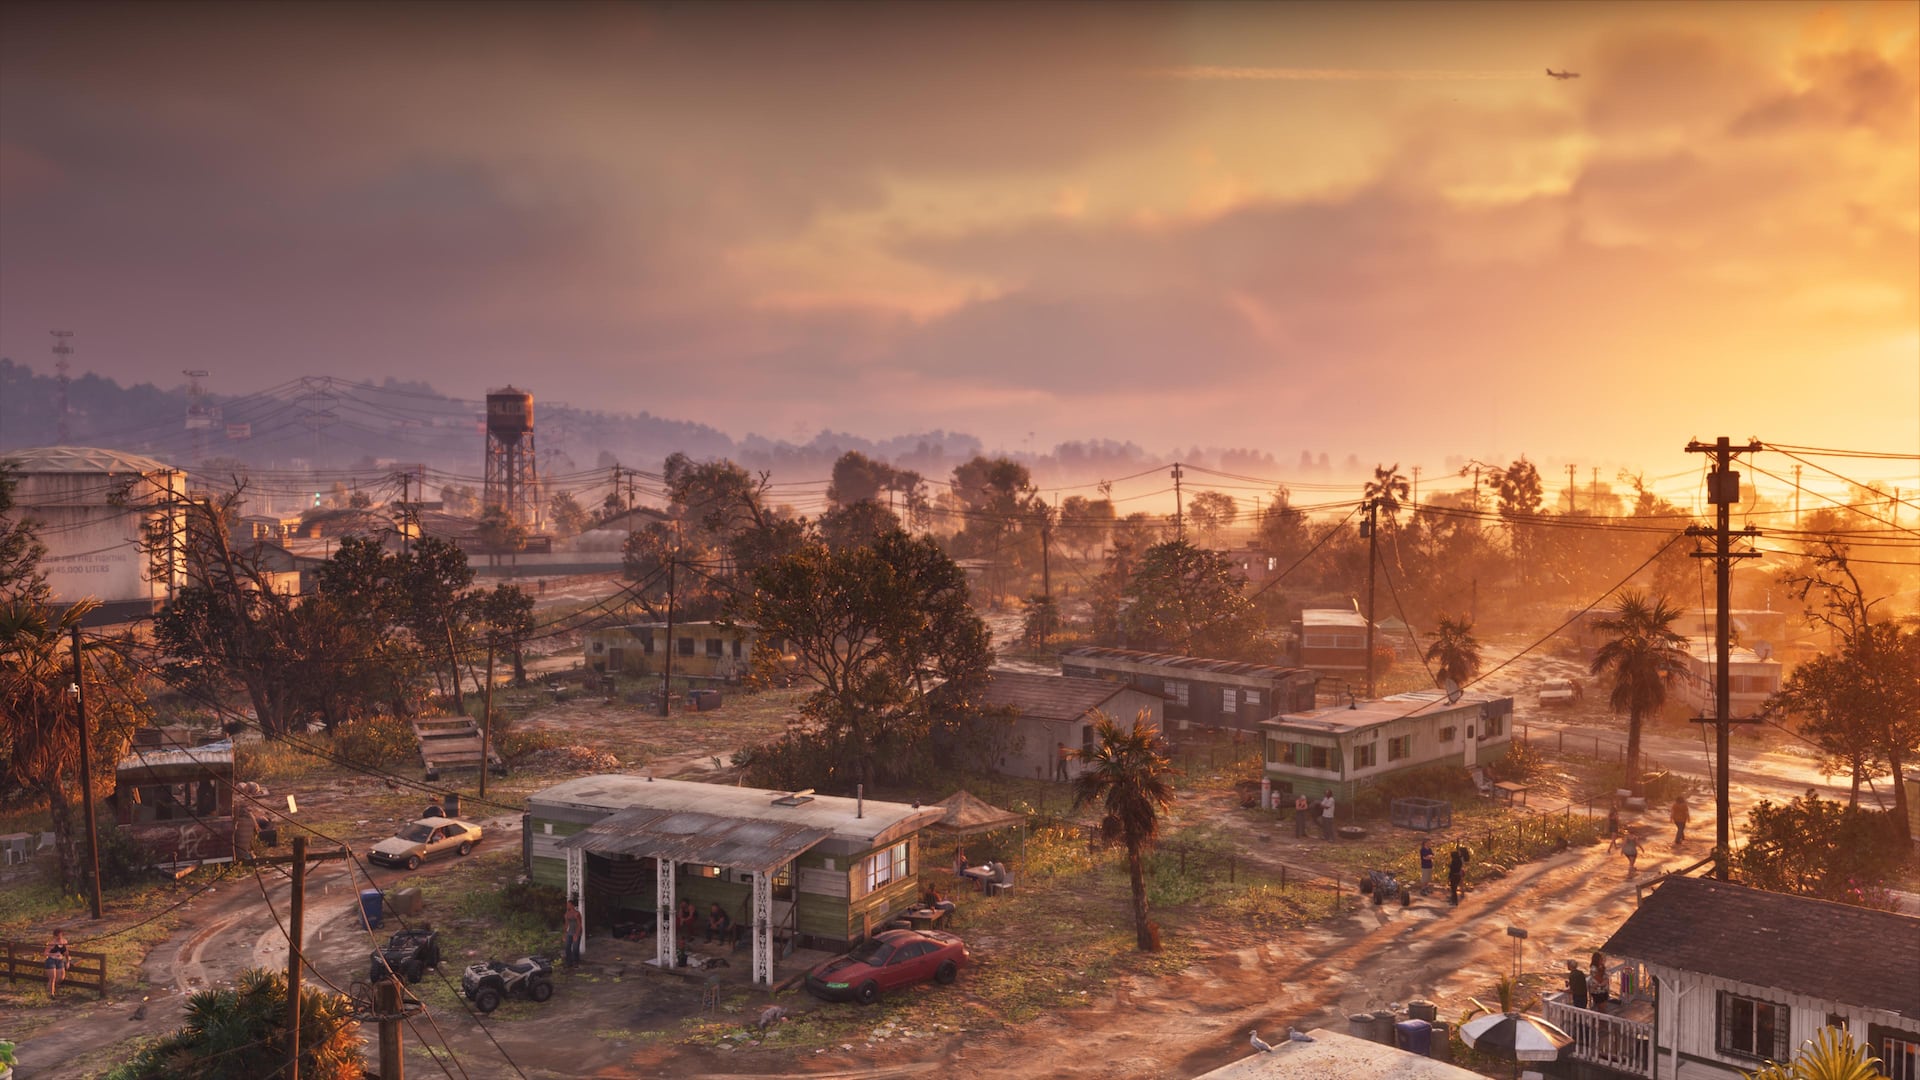
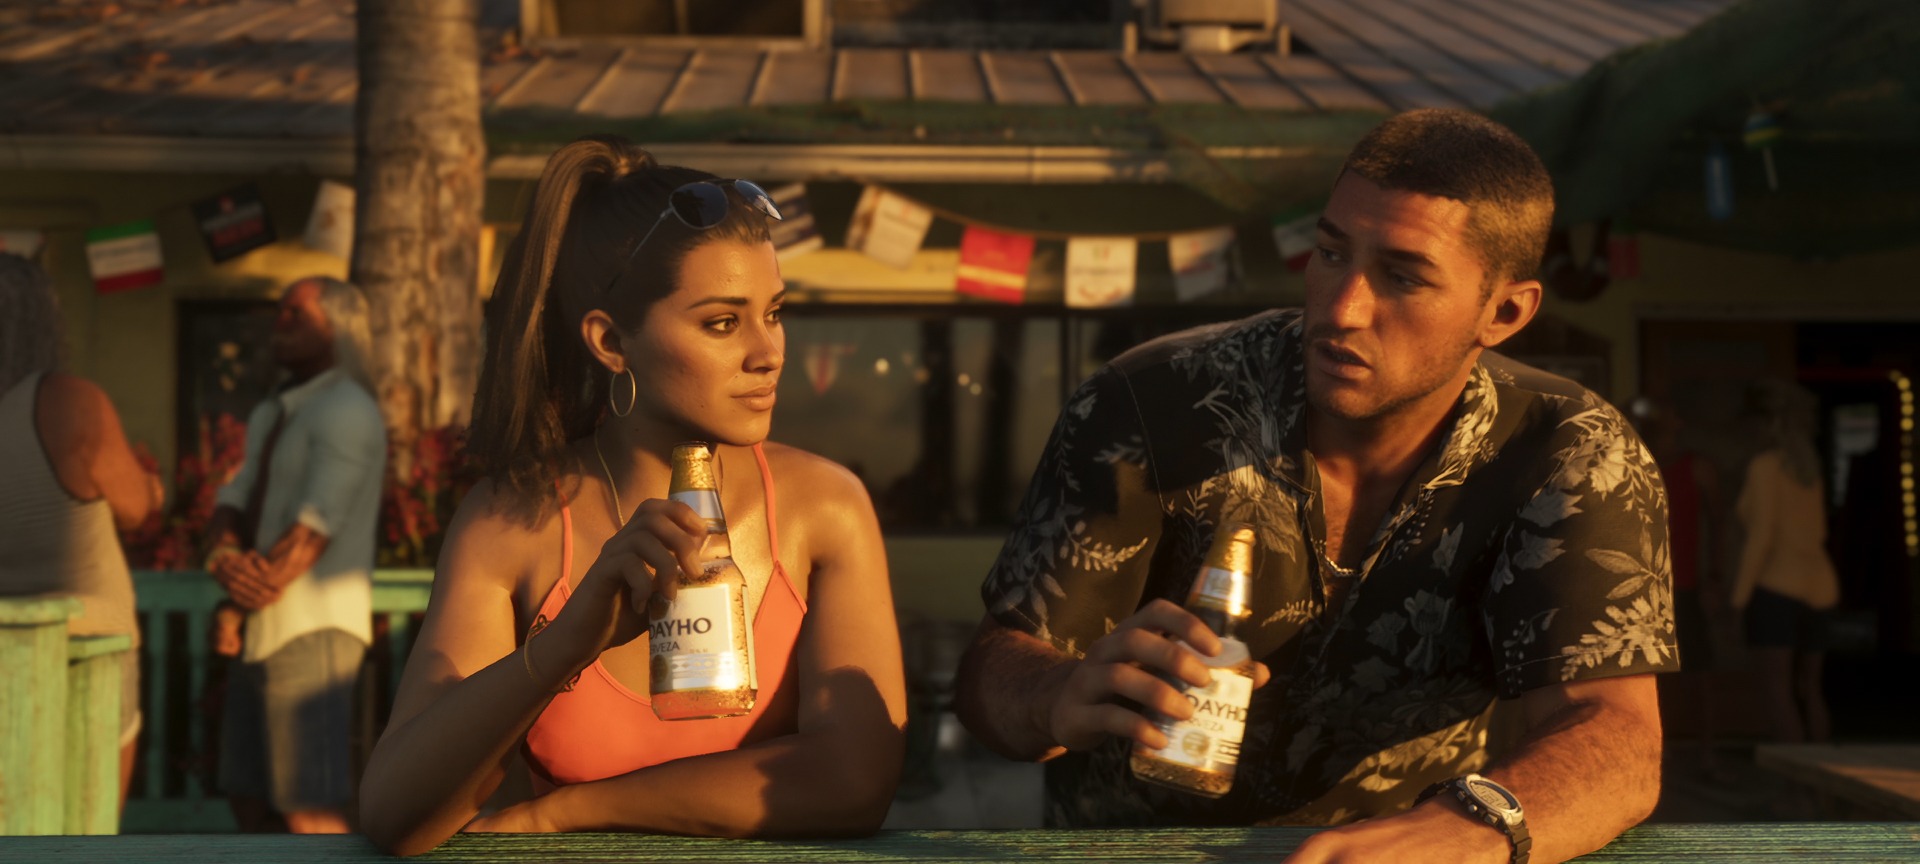
Official GTA VI screenshot: Jason and Lucia 04, © Rockstar Games.
The big Chapter 1 trap: how to save your starting money
Before you dive into the treasure hunt, here's the most important lesson from our own playthrough, a mechanic that almost cost us our entire starting budget: at the end of Chapter 1, the game takes almost all your money.
Once the first chapter ends, your pocket cash, your BuckMe checking balance and the stash in Jason's house are all gone. You can't withdraw Family Savings during Chapter 1, but that money carries over cleanly into Chapter 2.
Warning: Only the money in Family Savings survives the end of Chapter 1. Cash, BuckMe balance and Jason's stash are wiped.
Key tip before you start farming
- Save the one-time stashes: Keep big one-time spots like the crab outpost or the Manatee Motel safe for Chapter 2, once the story lets you roam the Keys again.
- Mind the point of no return: If you're already making money in Chapter 1, pay it all into Family Savings in time. Your account needs to be empty before you start the mission "Tourist Trap" at the latest.
- Dives are only paused: Kenton's wreck missions are locked temporarily at the end of Chapter 1, but they come back later in the game.
- Don't sell collectibles and loot too early: If you cash in items like rare collectible cards at the pawn shop after the chapter change, you sidestep the money reset completely.
Want to know how Jason's stash works? Read our guide to GTA 6 stash locations.
Quick overview: every tested money spot and safe code
All the worthwhile stops from our route tests, sorted by loot, safe code, risk and best timing:
| Spot / method | Typical loot and codes | Risk | Best time |
|---|---|---|---|
| Parrot's stash (Three Sheets Liquor) | Cash in an air vent, no code | None | Chapter 1 |
| Apollo Aggregates (near Hamlet) | Marked bills, cocaine, safe with cash and a collectible card | Medium | Early game |
| Manatee Motel (south of Hamlet) | Cash, safe, cocaine, Laird 350 sniper | High (tiger) | After "Gone Fishing" |
| Crab research outpost (Pelican Valley) | $1,070 cash + $10,000 marked, codes 0072 / 0212 | Low | Better in Chapter 2 |
| Kenton's dives (Key Lento) | Treasure from the seabed, repeatable | None | After "Island Dreams" |
| Three safes in Port Gellhorn | 3 cash safes, codes 6823 / 6969 / 0300 | Low | Once you reach Port Gellhorn |
| Palmer Fishing Warehouse (Bobcat Key) | Safe with about $3,000 (code 1886) + gold AK | Very high | After Chapter 1 |
| Car thefts for Moses / Randy | $1,000+ (Moses) / $30,000+ per car (Randy) | Medium | Chapter 2 / Chapter 3 |
| Jewelry heists (Yasmani) | $10,000 to $25,000+ per job | High | Chapter 3 |
| Large bank vaults (8 locations) | Up to $205,000 per vault | Very high | Chapter 4 |
Early hidden stashes in Key Lento and around Hamlet
1. The parrot's stash at Three Sheets Liquor
Key Lento · No combat · 2 minutes
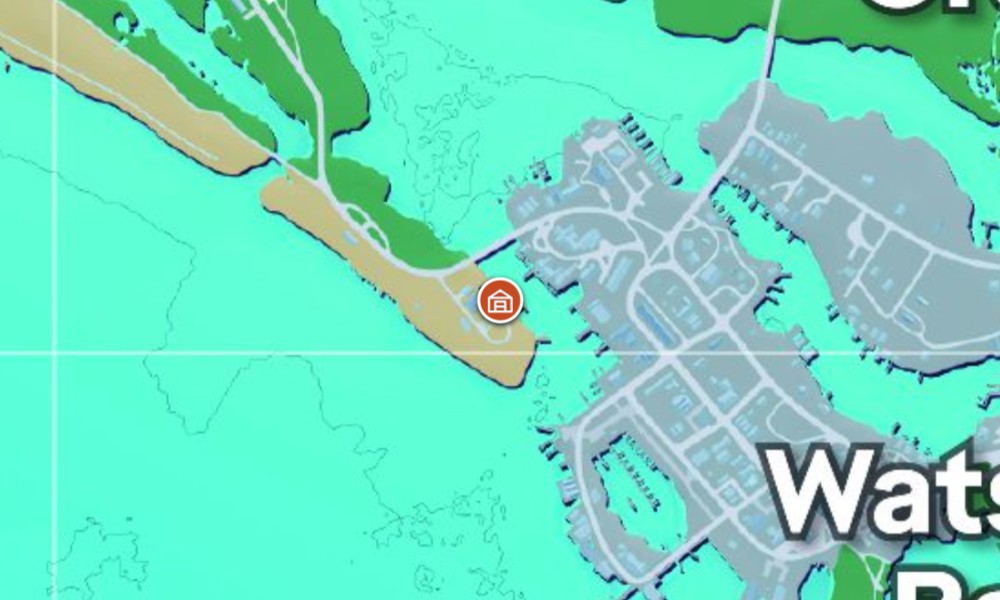
Just north of the Pay 'n' Spray in Key Lento sits the unassuming liquor store Three Sheets Liquor. Climb the chain-link fence to the left of the storefront into the backyard, where a parrot sits in a cage.
How to get the loot: Talk to the parrot and it blurts out the crucial hint. Then stand right in front of the cage, turn to the corner with the backup generator and check the white air vent on the wall. Behind it is your first easy cash, with no shootout and no wanted level.
2. Apollo Aggregates: the red warehouse
South Vice-Dale County · Top loot + collectible card
For us, by far the best spot early on. Take the highway through southern Vice-Dale County toward Hamlet and look for three distinctive rectangular pools. That's where you turn onto the dusty gravel lot with the excavators.
What's waiting inside: In the big red warehouse, bundles of marked bills sit on the main table. You'll find cocaine in the parked van and in the offices. The highlight is on the filing cabinet in the second office: a small safe. On our run it held cash and a silver Leroy Rook collectible card that got us $6,000 at the pawn shop in one go.
3. Manatee Motel: watch out for the tiger
South of Hamlet · Weapon and loot spot
This run-down motel south of Hamlet is a Kingfishers gang hideout, and it has a very unusual guard dog: a tiger roams free on the grounds. Bring at least a shotgun or a strong assault rifle.
How it plays out: Once the tiger is down, the gunfire draws more Kingfishers. Take cover behind the concrete walls and clear the wave. Then loot in peace: the first room has cash on the table and a black safe in the corner, and the next room holds cocaine and the Kingfishers Laird 350 sniper rifle. The sellable loot restocks after a few in-game days, but the rifle is a one-time find.
All nine loot stops with maps are in our loot locations guide.
Puzzles, safes and dives: the best mid-tier spots
The crab research outpost in Pelican Valley
$11,070 total value · Code puzzle
In the southwest of Pelican Valley, deep in the Grassrivers swamps but only a short boat ride north of the Keys, an abandoned research outpost stands on stilts. The loot is locked behind a three-step number puzzle. Here's our solution so you can skip the searching:
- Turn on the power: Walk around the main house and flip the breaker on the outside wall so the terminals inside get power.
- Enter the computer password: In the back bedroom, several words are scrawled on the wooden floor. The only one not crossed out is CLEAVES. Type it into the computer.
- Open the lab safe: The screen says the safe code is exactly double the "success" number. The clipboard in the lab shows 0036, so the code is 0072.
- Unlock the boathouse: A note inside the safe gives you the code 0212 for the boathouse at the end of the dock.
Your total haul: $1,070 in cash, a stash bag with $10,000 in marked bills, the Crabshack VF5 SMG and a fully fueled jet ski for the ride back through the mangroves.
Kenton's wreck dives
Key Lento · Repeatable and completely non-violent
If you're not in the mood for gunfights, the Chapter 1 mission "Island Dreams" unlocks the most relaxed farming method in the early game. From his dive shop in Key Lento, Kenton marks shipwrecks on your map. Grab a boat, dive down, sweep the seabed with the metal detector and sell everything straight back to him.
Our tip: Dive in daylight and calm seas. At night, it's easy to miss the smaller metal pieces in murky water. All the wrecks are on the map in our treasure locations guide.
Three safes in one go in Port Gellhorn
Combo route · Short distances
As soon as the map opens up toward Port Gellhorn, make Brooks Boatworks your first stop. A wall map in the office lists the combinations for three nearby safes:
- Safe 1, Brooks Boatworks: right on the boatyard grounds, code 6823.
- Safe 2, La Cascara Motel: in the motel's back room, code 6969.
- Safe 3, Kingpin Bowling: in the bowling alley office, code 0300. Don't forget the leading zero.
All three buildings are only a few minutes' drive apart, so you can finish the round in under five minutes.
Palmer Fishing Warehouse and the gold AK
Bobcat Key · Heavily guarded
On Bobcat Key, the La Polilla Negra cartel runs a heavily secured fishing warehouse. Don't show up unprepared: bring body armor, healing items and a suppressed rifle to take out the outer guards quietly. On the ground floor, the computer gives you the safe code 1886 (about $3,000 in cash). Right opposite the safe lies the gold KZ-59. Our gold AK guide walks you through the route step by step.
Repeatable income: car thefts, robberies and bank vaults
Once the one-time stashes are empty, you need steady income for expensive weapons, tuning and property. These eight methods proved especially profitable in our long-term testing:
- Used cars for Moses (Chapter 2, after "Girls' Trip"): Moses buys older, inconspicuous sedans and coupes without trackers for around $1,000 or more. Scan every car with the WAiNK app first and don't steal it right outside his workshop.
- Rob other criminals (any time): Robberies, carjackings and drug deals play out live all over Leonida. Step in before the police arrive, take down the crooks and grab their loot bags ($1,000 to $15,000).
- Jewelry heists for Yasmani (Chapter 3, after "Boobie Time"): Targeted jewelry jobs pay $10,000 to $25,000 and more. Don't forget your mask; our mask guide shows you how.
- Luxury cars for Randy (Chapter 3): Randy pays $30,000 and up for sports cars and supercars on his wish list. Thanks to the Key Cloner, even factory trackers don't matter.
- Demolition Derby (Ambrosia Raceway): A clean win brings in about $3,800 to $6,300, perfect between jobs when you don't want to risk wanted stars.
- Hunting jobs for Bret (Chapter 2): Depending on the animal and pelt condition ("Good" or "Pristine"), you earn $500 to several thousand dollars per kill. Use the right caliber for perfect pelts.
- Air drops with Pilot Pete (Chapter 4, Jason only): Each successful drop pays $10,000 to $20,000.
- Crack bank vaults (Chapter 3 / 4): Smaller banks open up after "Credit Check" in Chapter 3 ($5,000 to $45,000). The big money waits in Chapter 4 after "That's Where The Money Is…": eight large vaults pay up to $205,000 each.
All locations on the map: banks · illegal operations
Marked bills and loot: where to get the best rate
A classic beginner mistake: selling your loot to the first contact you find and throwing away thousands of dollars. With marked bills and stolen valuables especially, it pays to compare buyers:
| Buyer / location | Unlocks | What they take | Payout |
|---|---|---|---|
| Dunk (Port Gellhorn) | Chapter 2 | Marked bills, small items | Low, emergencies only |
| Pawn shop (e.g. in Hamlet) | Chapter 1 | Collectible cards, jewelry, watches | Fair and steady, no wanted check |
| Yasmani (Little Cuba) | Chapter 3 | Marked bills, jewelry loot | Very high, our favorite for laundering |
| Kenton (Key Lento dive shop) | After "Island Dreams" | Wreck treasure and relics | Exclusive buyer, full value |
Our 3 tested farming routes
So you don't zigzag across the map without a plan, we put together three compact routes and tested each of them several times for efficiency.
Route A: The early kickstart
Chapter 1 / 2 · little resistance
- Start in Key Lento: Grab the cash from the air vent behind Three Sheets Liquor.
- Out to sea: Head to Kenton's dive shop and work through two nearby shipwrecks.
- On toward Hamlet: Empty the safe in the second office at Apollo Aggregates and secure the collectible card.
- Lock it in: Only sell the card at the pawn shop after the Chapter 1 reset. That way you start Chapter 2 with over $6,000.
Route B: The Port Gellhorn safe round
From Chapter 2 · about 10 minutes
- Check the map: Start at Brooks Boatworks, read the codes off the wall and crack the first safe right at the boatyard.
- Motel and bowling alley: Move on to La Cascara Motel (6969) and straight after that to Kingpin Bowling (0300).
- Cash in on the way back: Scan for a car without a tracker with the WAiNK app and deliver it to Moses undamaged.
Route C: The high-roller run
From Chapter 3 / 4 · maximum profit
- Prep: Equip your mask, top up your armor and make a manual save right before you start.
- Main target: Crack one of the large bank vaults (up to $205,000) or pull off a jewelry job for Yasmani.
- Escape and launder: Lose the wanted level, take off the mask, launder the marked bills with Yasmani in Little Cuba and deposit the profit right away with the BuckMe app.
Our 5 golden rules for keeping your money
Bottom line: Money only counts once it's safe. Run through this checklist after every job.
Checklist after every job
- Deposit right away: Cash on you is gone the moment you get busted or end up in the hospital. Use the nearest ATM or the BuckMe app after every run.
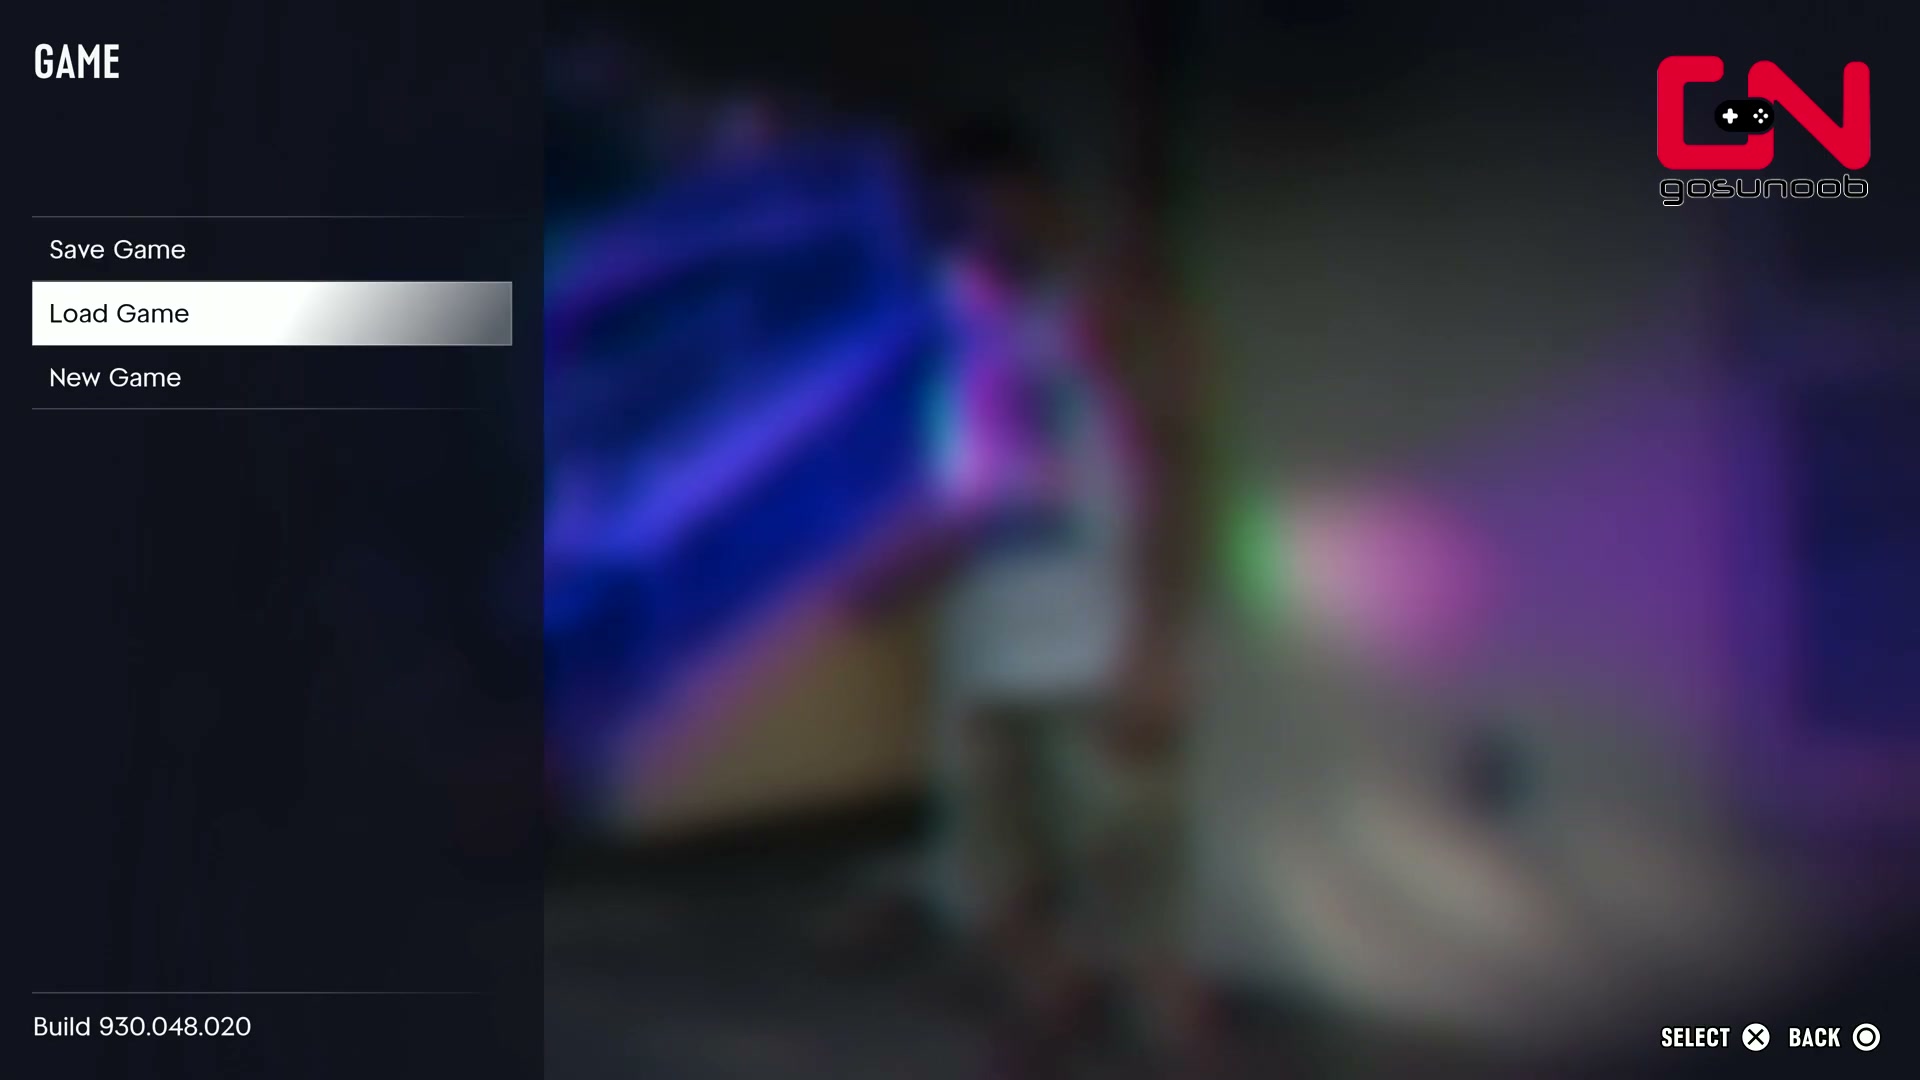
- Save manually: Make a manual save after every big payday (Pause > Game > Save Game) in case your getaway goes wrong. Here's how saving works.
- Lose the heat first: Fences and buyers won't take hot goods while the cops are on your tail. Take off the mask and lie low; our police escape guide helps.
- Drive carefully: Moses and Randy dock you heavily if you roll their dream cars into the yard as wrecks.
- Hold on to marked bills: Only exchange marked bills with Dunk in Chapter 2 in an emergency. Yasmani in Chapter 3 gives you much better rates.
Sources
Last updated November 21, 2026. We documented the safe codes, mission triggers, fence rates and farming routes in our own saves and cross-checked them with KeenGamer and GTABase. Payouts may vary with progress and updates.
Loot locations · Stash locations · Treasure locations · Money guide: 10 ways · More GTA 6 guides